Pension Tracing Numbers
Pension Tracing Numbers
If you have employees that are members of an approved occupational pension scheme or a personal retirement savings accounts (PRSA), you should include their pension tracing numbers on your P35 Year End submission to Revenue.
These numbers aren’t applicable to pension related deductions (PRD) and construction workers pension schemes (CWPS).
Your pension provider tells you what the pension tracing number is for each of your policies/schemes. All employees that contribute to a company pension will have the same pension tracing number and you must then enter this information in their employee records.
If you have a large number of employees to update, to save time, you can import pension tracing numbers directly in to Sage Micropay using the Data Import option.
Manually enter pension tracing numbers
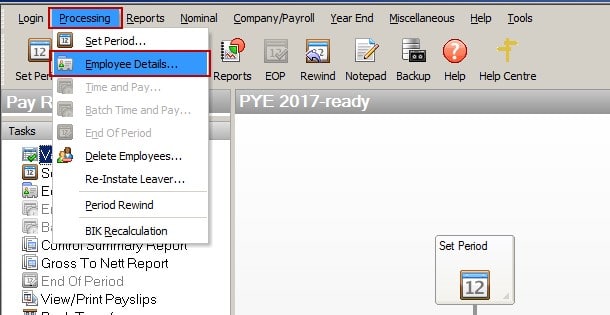
1. On the menu bar, click Processing then click Employee Details.
2. Next to the Surname box, click browse and click the relevant employee.
3. Click the Deductions tab.
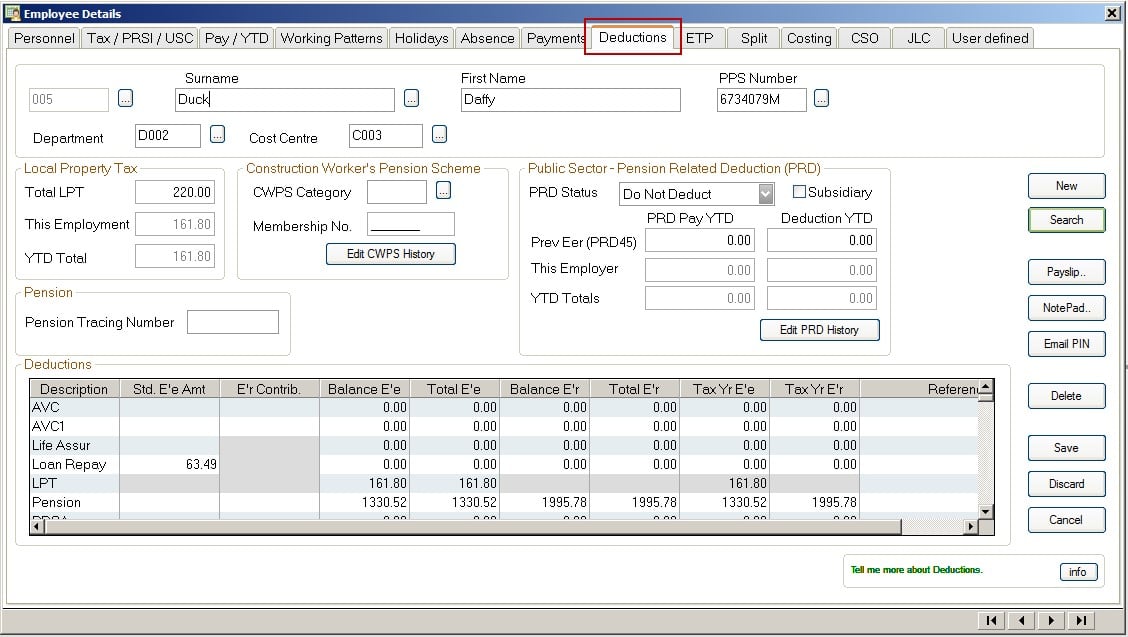
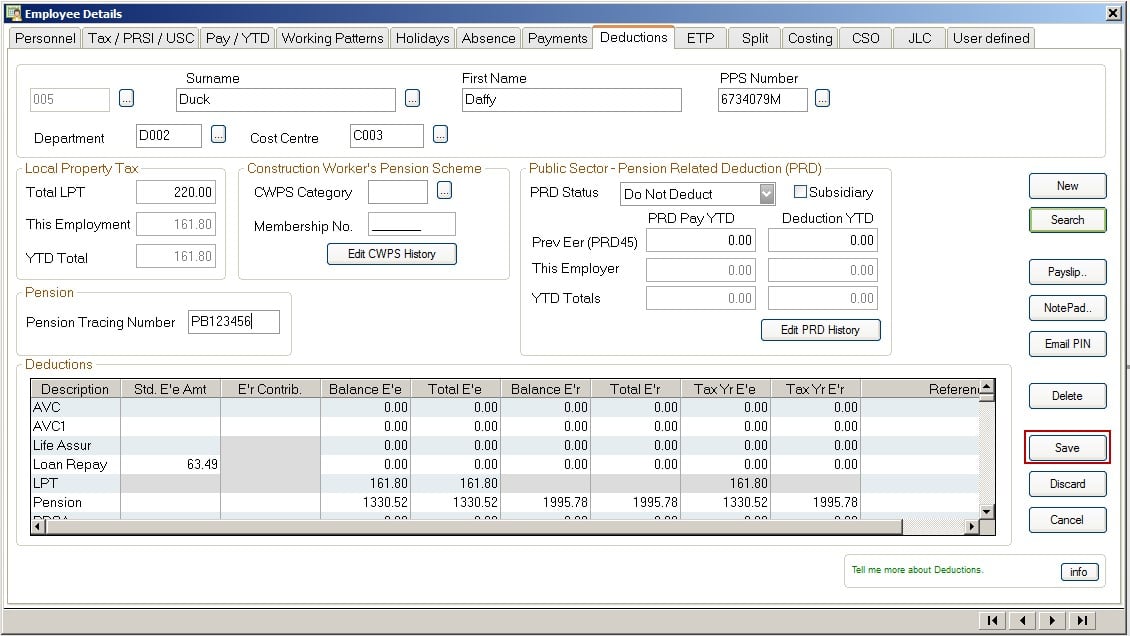
4. Under Pension, in the Pension Tracing Number box, enter the relevant number.
The format of the pension tracing number is “PBXXXXXX”, where XXXXXX is a number with up to 6 digits. For example, PB123456
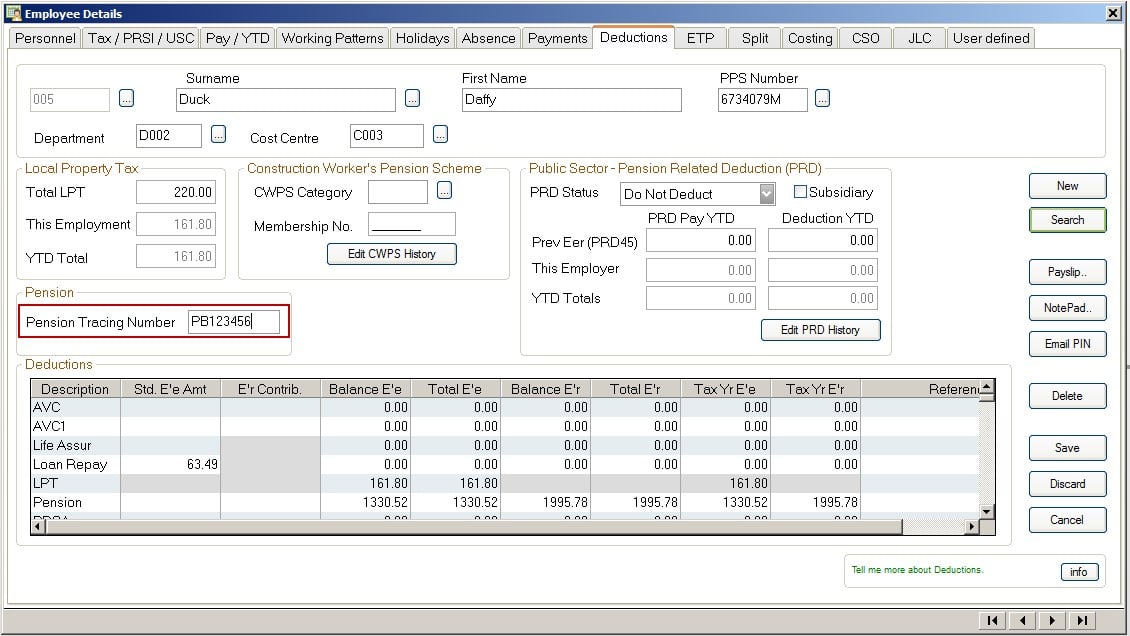
5. Click Save.
If you enter an invalid pension tracing number, a warning message appears and you must repeat steps 4 and 5.
6. Repeat steps 2 to 5 for each employee that is a member of an Approved Occupational Pension Scheme.
Import pension tracing numbers
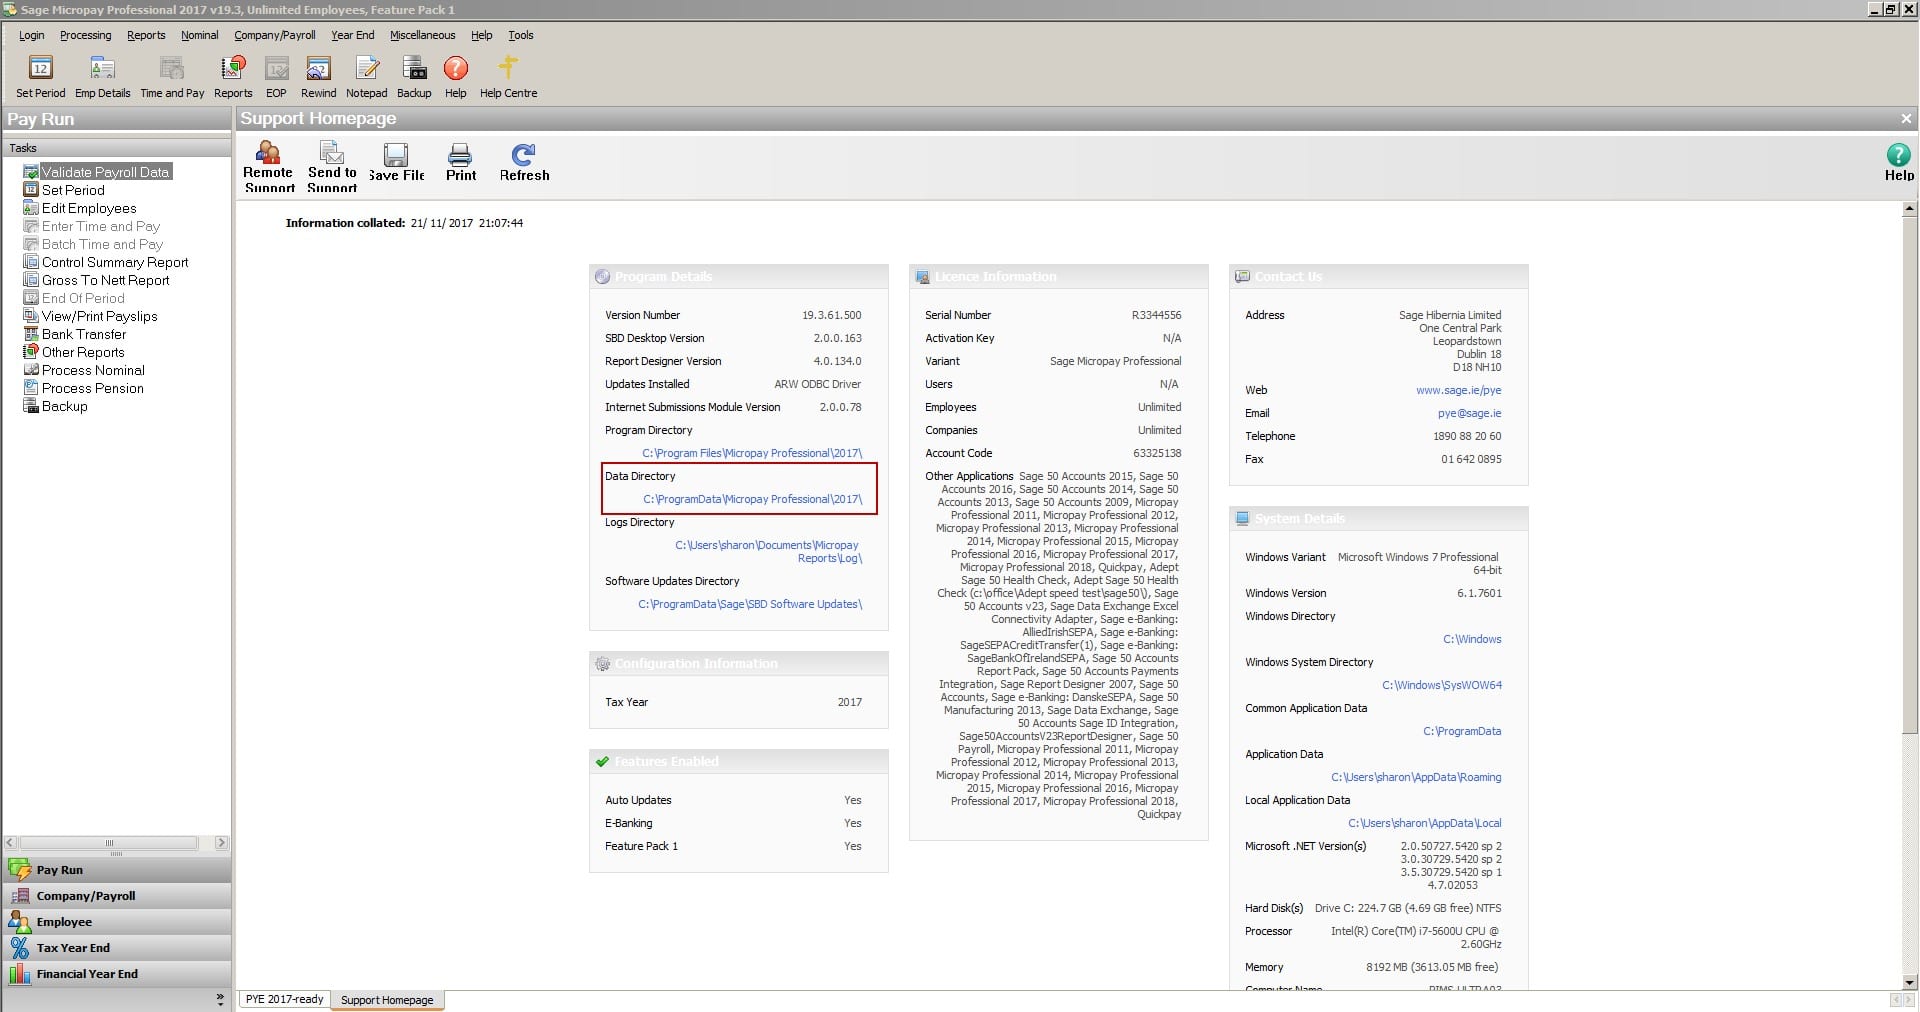
1. Open Sage Paryoll and log in to a payroll as normal.
2. On the menu bar, click Help then click System Information.

3. Make a note of the Data Directory link.
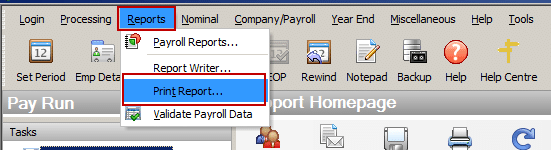
4. On the menu bar, click Reports then click Report Writer.
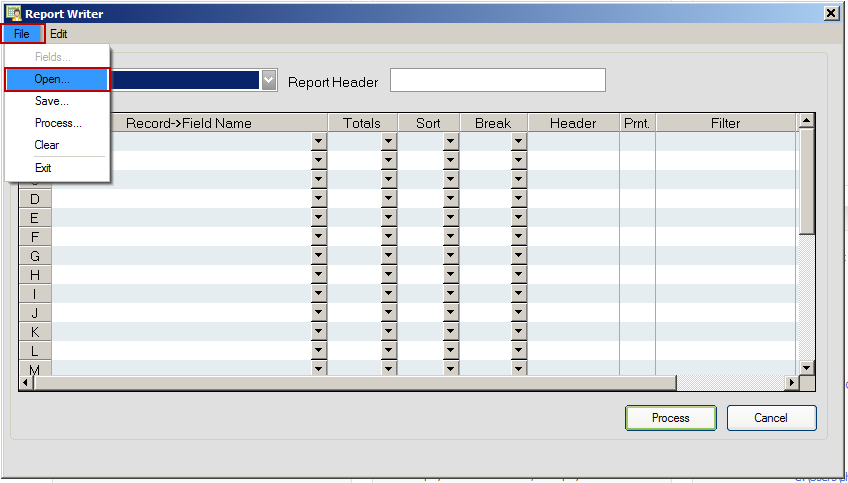
5. Click File, then click Open.
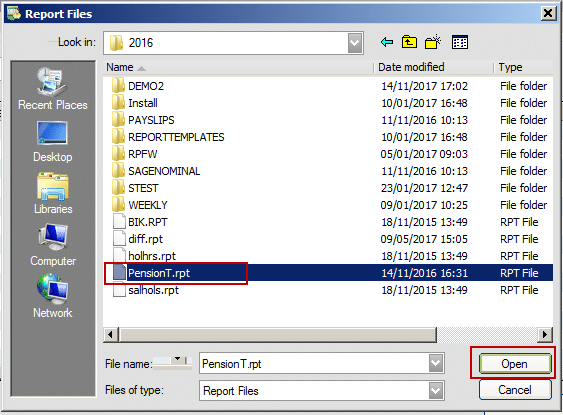
6. Select PensionT.rpt , then click Open
7. Click Process.
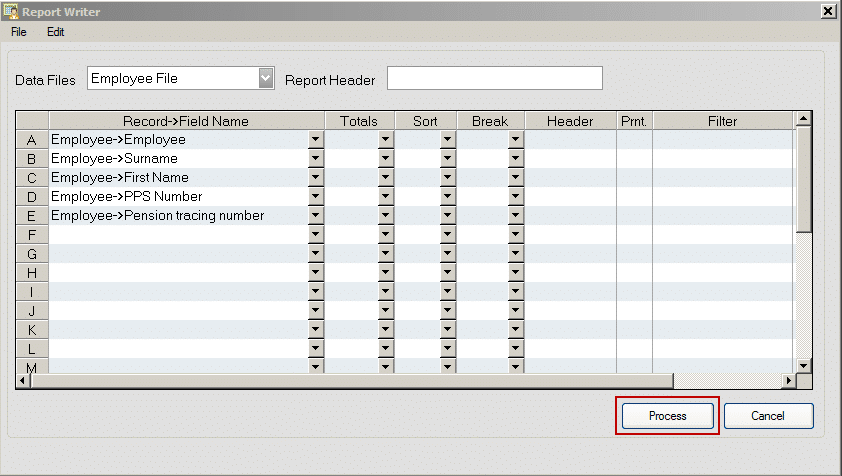
A report listing all employees in your payroll appears on-screen.
8. Click File, then click Save As.

9. Click the Save in arrow, then browse to the location you noted in step 3.
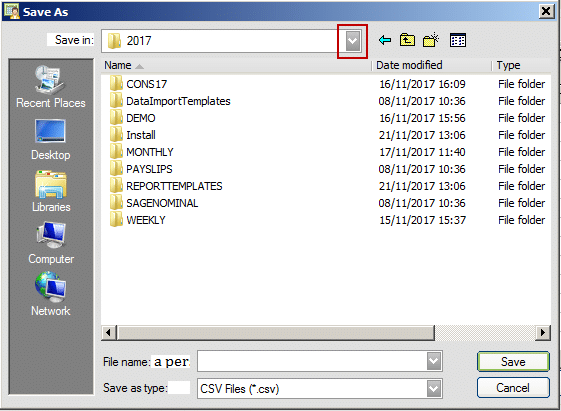
10. In the File name box, type pensiont.csv.

11. Click Save.

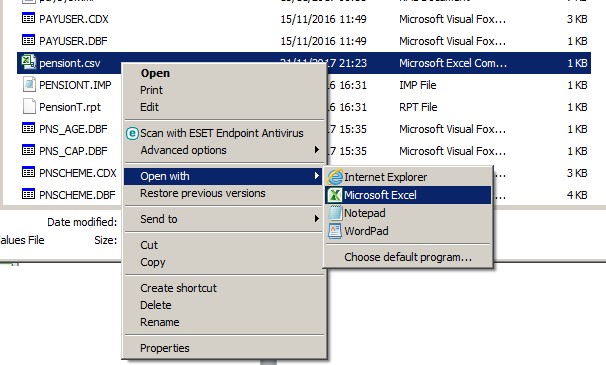
12. Close Micropay and browse to the location you noted in step 3.
![]()
13. Right-click the file pensiont.csv, then click Open with. Select Excel then click OK.
14. Under the column E, enter the pension tracing number for each relevant employee.

The format of the pension tracing number is “PBXXXXXX”, where XXXXXX is a number with up to 6 digits. For example, PB123456.
15. For all employees that aren’t members of an approved occupational pension scheme or a personal retirement savings accounts (PRSA), remove their values or delete the relevant row.
16. Under the column A, check your employees’ numbers are correct. Edit, if required.

Each employee number on the import file must match the exact employee number in Sage Micropay. For example, if the employee is set up in Sage Micropay as number 0054, the import file won’t accept 54 as the employee’s number. For more information about how to create custom number formats in Microsoft Excel, please refer to article 11995.
17. Click File, then click Save.

If the Data Directory link that you noted in step 3 is C:\ProgramData\Micropay Professional/2017, skip to step 24. If it’s not, you must correct the Sage Micropay data path specified within the import file. To do this, please complete steps 19 to 23.
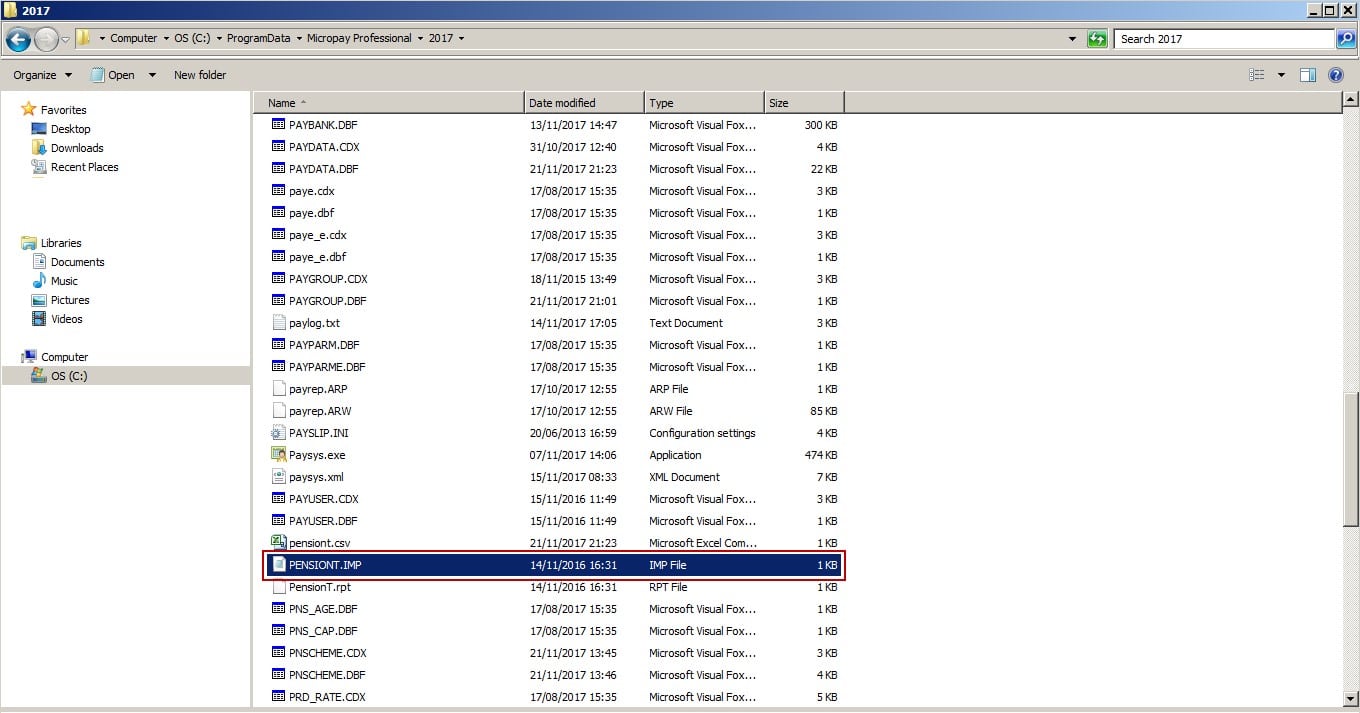
18. Click the Data Directory link.

19. Right-click the file PENSIONT.IMP, then click Open with.
20. When prompted, select Notepad then click OK.

21. Locate the data= entry line, then edit the highlighted section below so it matches your Sage Payroll data directory location:
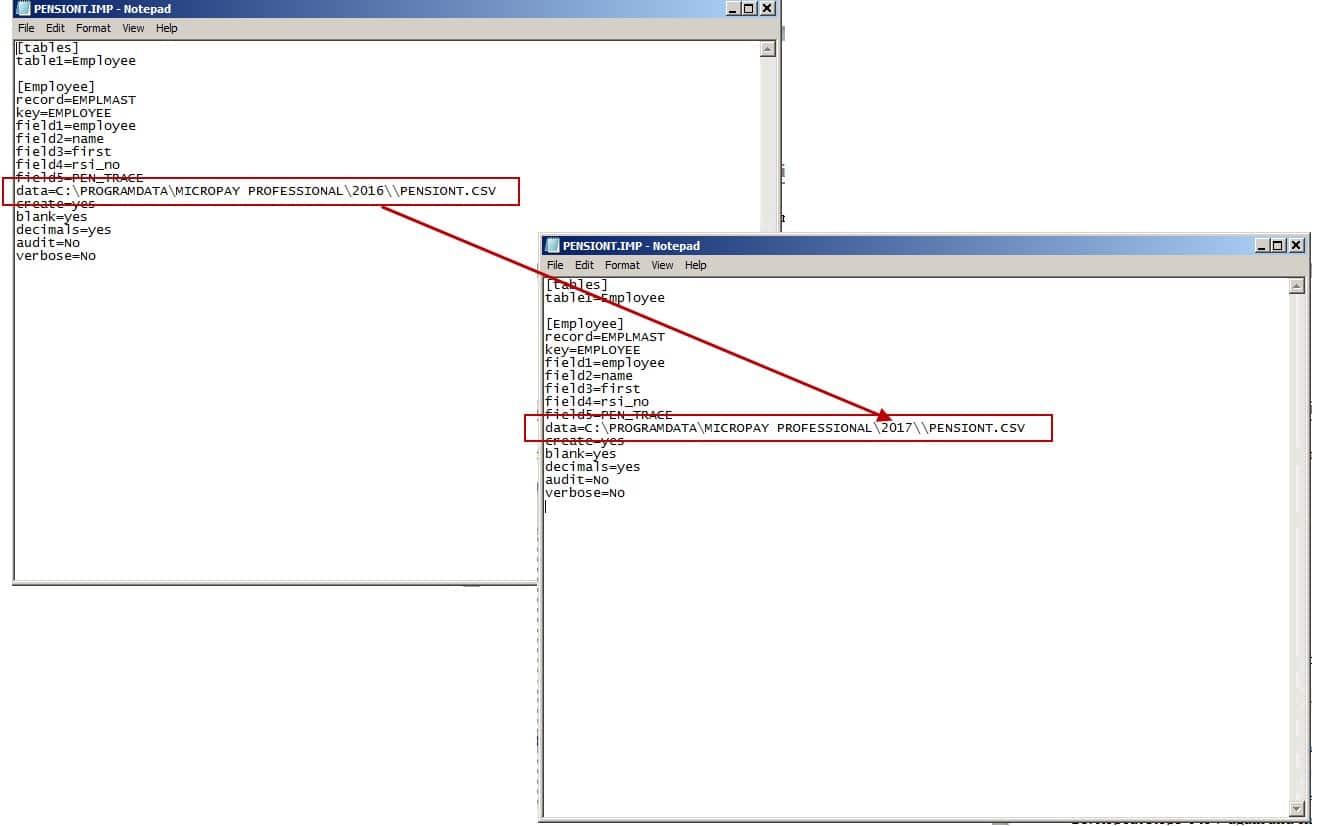
data=C:\PROGRAMDATA\MICROPAY PROFESSIONAL\2017\PENSIONT.CSV
22. Click File, then click Save.
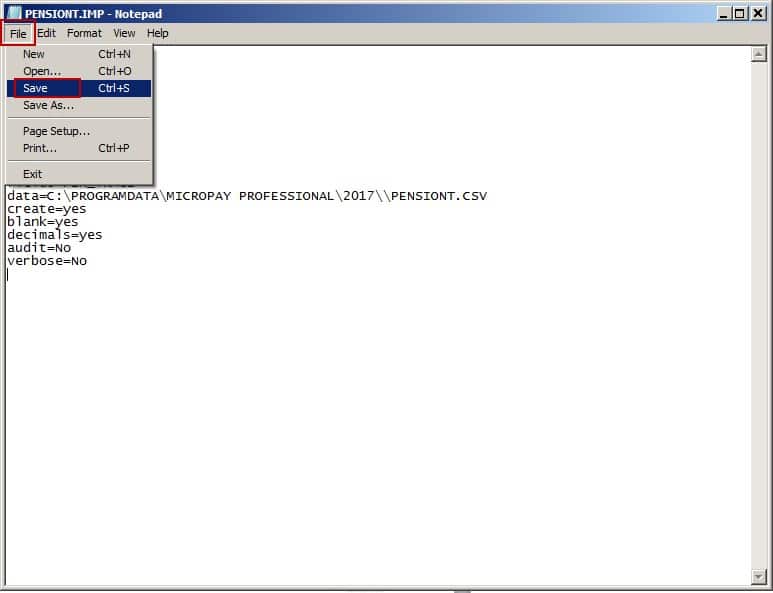
23. Click File, then click Exit.

24. Open Sage Micropay and log in to a payroll as normal.
Before you proceed any further, you must take a back up of your payroll data.
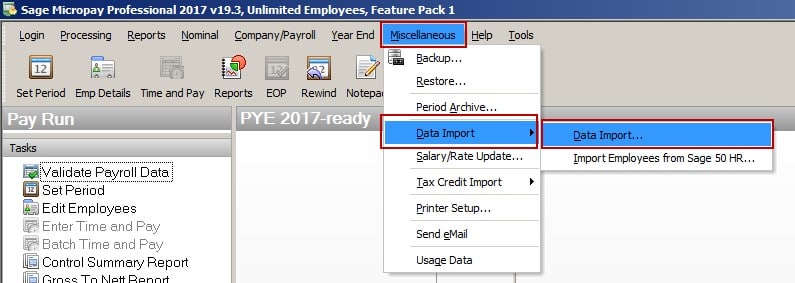
25. On the menu bar, click Miscellaneous, point to Data Import then click Data Import.
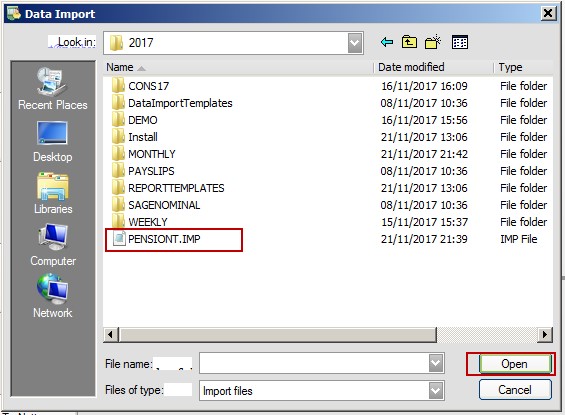
26. Browse to the location you noted in step 3.

27. Select PENSIONT.IMP then click Open.
28. Repeat steps 4 to 7 again and check the correct pension tracing numbers appear for each of the relevant employees.
If not, you must restore the back up you took before you ran the import process and complete the steps detailed in this section again.