• New Sage Payroll Update v27.1 Released
    Includes ERR and CWPS enhancements
  • New Sage Payroll Update v27.1 Released

KB Category: General

Using the Pimbook Download Portal

The Pimbrook Download Portal is where we put all our downloadable files (e.g. software updates).

The URL used to access this portal is https://downloads.pimbrook.ie/

Registering

A user needs to be registered to access this portal, the following describes how to do this.

1, Go to the portal site https://downloads.pimbrook.ie/ from a web browser.

2. The login screen will be presented – see below


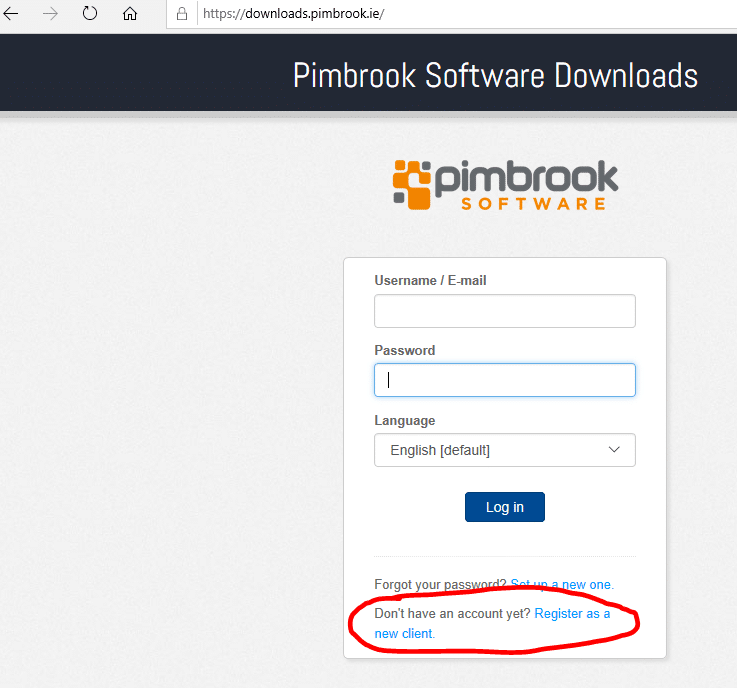
3. Select the “Register as a new client”

4. Enter your details, i.e. name, login, password and email.

5. Email support@pimbrook.ie with your portal login name to get this activated.

6. You will receive an email back when the account is activated.
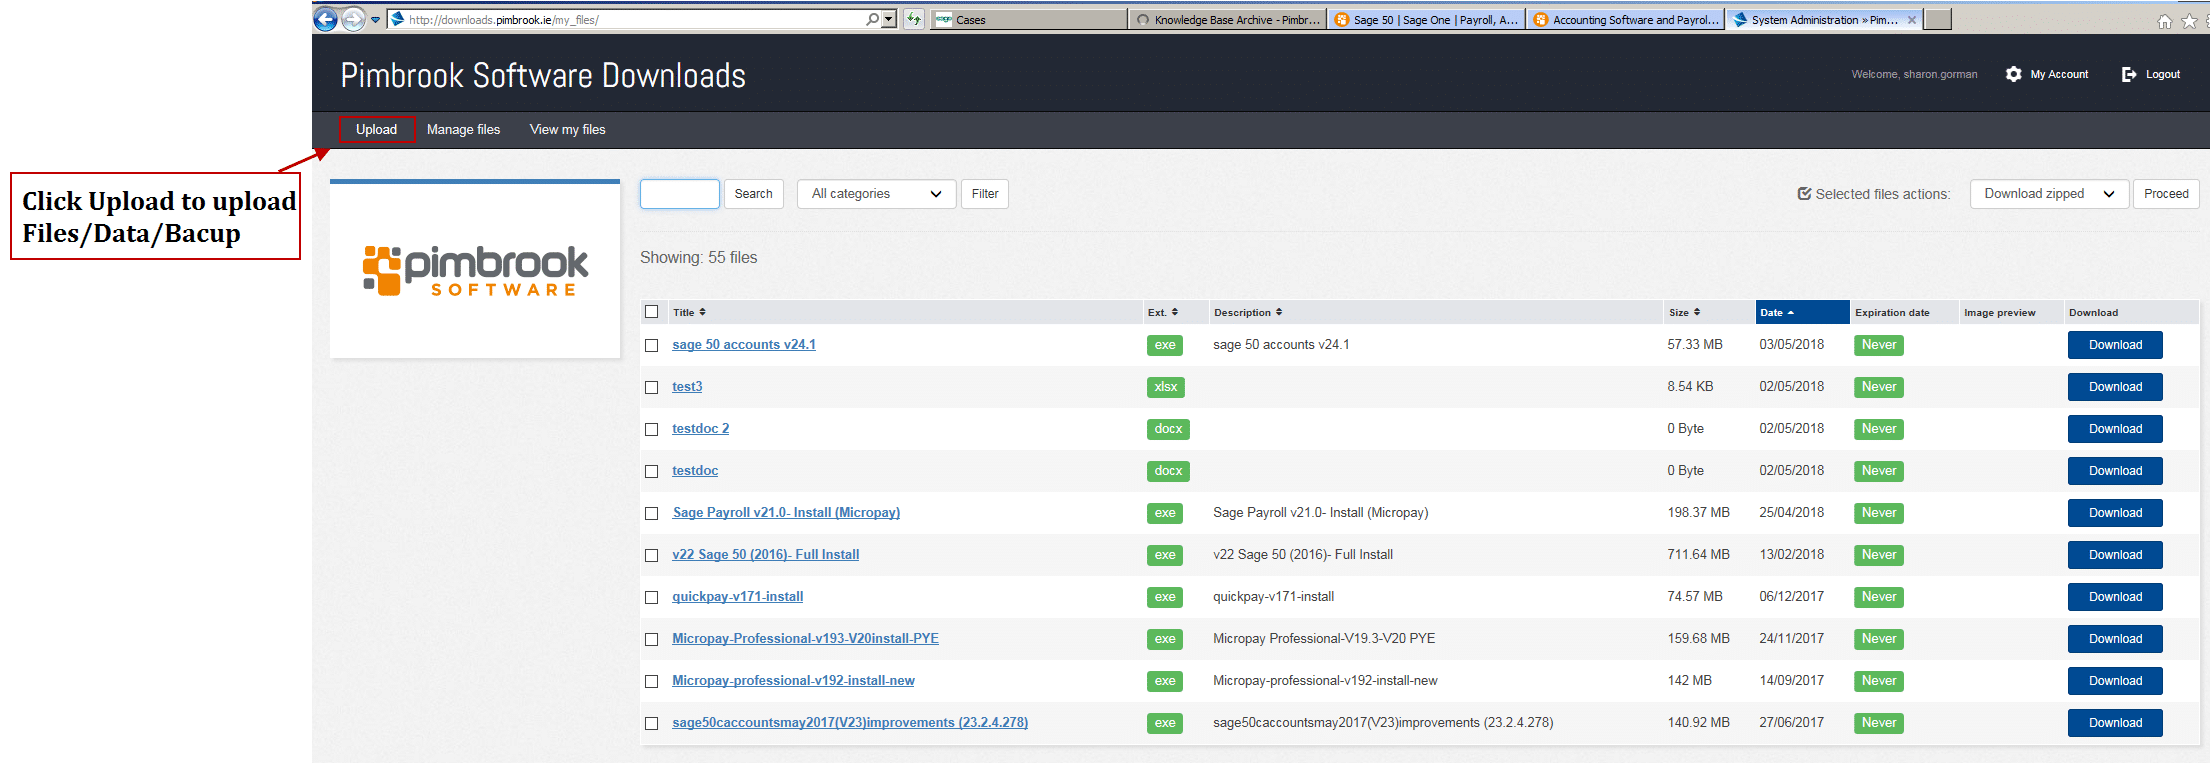
 

Downloading Files

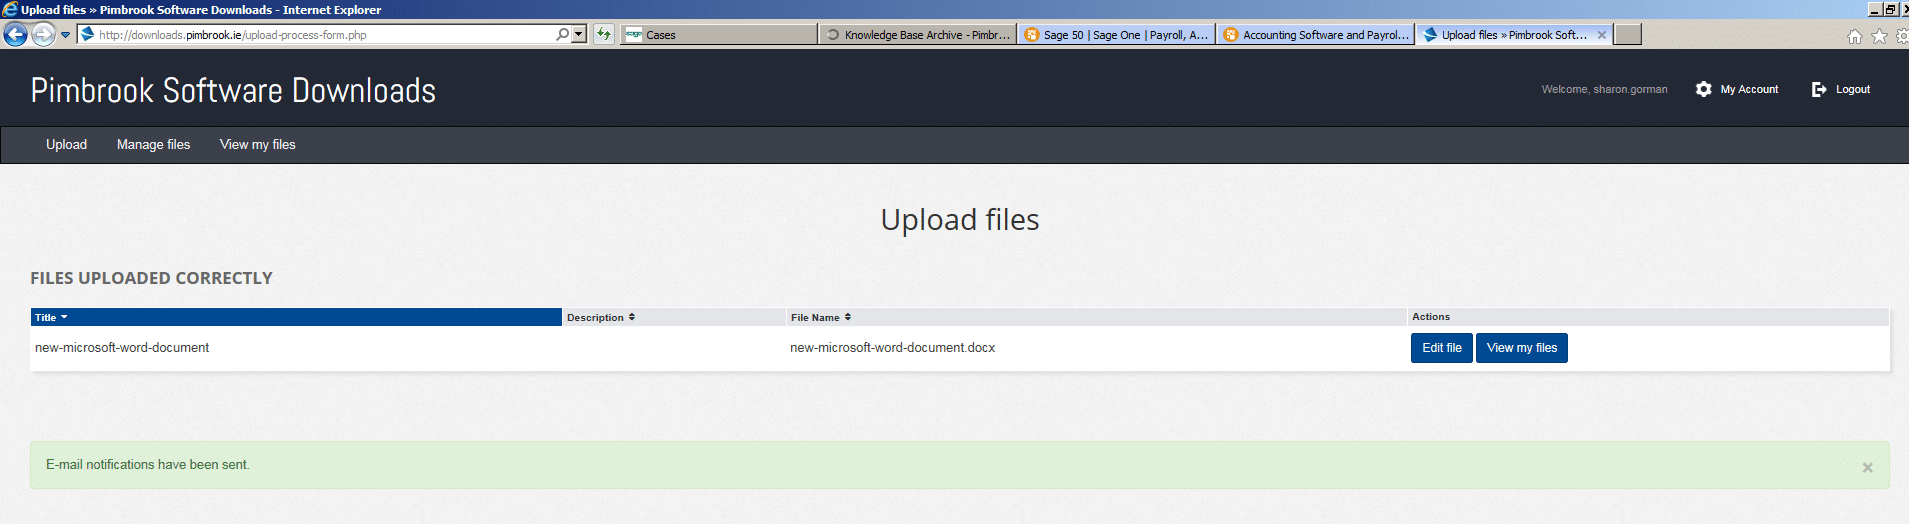
Once registered as a client you can log into the portal and click the “Files” tab to get access to the files that are available for download. Pick a file required and click the “Download” button.


Communicating Passwords Securely


If you want to share a password with someone it is recommended for security reasons to contact them directly (i.e. by phone or in person) however this may not be possible and it can be difficult to read aloud complex passwords. In these cases it can be better to send the password by email or SMS, but sending it as free text via these methods is not very secure.

To make this more secure you can use a secure password utility like this one; https://pwpush.com/

This utility allows you to enter your password and set a period of time and a number of views for which a secure link to this password will be made available. When you click the “Push” button it will create a URL that you can copy and send to the person you want to share the password with. The person can then simply click on the links to view the password and this link will expire after the set number of days or the number of views.

Some usage tips:

  • To make this as secure as possible it is recommended to communicate with the person first (i.e. via phone) to tell them that you will be sending a password link and then send the link on its own without stating that it is a password link in the same email.
  •  Keep the number of days views limited but also consider that the person you are sharing with may require a little time to get to this and also more than 1 view to allow for issues when viewing it.. Typically 7 days and 3 views should suffice if sharing with 1 person.

Check if you’re logged in to your computer as an administrator

Check if you’re logged in to your computer as an administrator


Before you install software or updates on your computer, you must check that you’re logged in to Windows as an administrator. This ensures you have enough access to add, change or remove files on your computer.

Check your Windows version


  1. Press the Windows key + R, type winver then click OK.
  2. In About Windows check your Windows version, then refer to the relevant section below.


Windows 10 and Windows 8


  • Press the Windows key + R, type netplwiz then click OK.If the User Accounts window appears, you are logged in as an administrator.If you’re prompted to enter your credentials, you’re not logged in as an administrator. To find out your administrator login details, please speak to your IT support.


Windows 7


1. Click the Windows Start menu then click the user account picture.

If your computer is not a member of a domain, the user status appears below the user name.


2. If your computer is a member of a domain, to check the user status, click Manage User Accounts.


3. If you are logged in as an administrator, the following window appears.


4. If you’re not logged in as an administrator, the following window appears. To find out your administrator login details, please speak to your IT support.


If the administrator access is hidden


If the default administrator account for your computer doesn’t appear when you start your computer, you can enable this account.

1. Right-click the Windows Start button then click Command Prompt (Admin).

Windows 8 or below – Click the Windows Start button, in the search box type CMD then right-click cmd.exe and click Run as administrator.

2. Type net user administrator /active:yes then press Enter.

3. Type Exit then press Enter.

The administrator account is now visible when you restart the computer, by default it has no password.

To turn the administrator account off, repeat the above steps, replacing active:yes with active:no


How to map a network drive

How to map a network drive

Here we explain how to map a network drive. Before you can do this, the folder to which you want to map a drive must first be shared.

Check the folder share name

If the folder is already shared, make a note of of the share name.

Tip: If you’re unsure about this and the drive is already mapped on another PC, you can identify the computer name and share name from the other PC in My Computer. In the following screenshot, the S: drive is mapped to the accounts folder on a computer called sage002337. The UNC path is therefore \\sage002337\accounts 

Alternatively, you can use the net use command to see the full UNC paths allocated to each network drive on the PC.

1. Start > Run > in the Open box, type cmd > OK.

Tip: To open the Run window in Windows Vista or Windows 7, hold down the Windows key + R on your keyboard.

2. At the prompt, type net use > press Enter.

The list of mapped drives and their corresponding UNC paths appear.


3. To return to the Windows desktop, type exit > press Enter.


Windows 10


To map a network drive:

1. Right-click Start > File Explorer > select This PC.

2. Computer tab > Map network drive button > Map network drive.

3. From the Drive drop-down list, select the required drive letter.

4. In the Folder box, enter the UNC path, for example \\sage002337\accounts or click Browse and browse to the shared folder.

Tip: If the drive has been previously mapped on this PC, you can select the required UNC path from the drop-down list.


5. Select the Reconnect at logon check box > Finish.


Windows 8

To map a network drive:

1. Start > Windows Explorer > Computer > Map network drive.

2. From the Drive drop-down list, select the required drive letter.

3. In the Folder box, enter the UNC path, for example \\sage002337\accounts or click Browse and browse to the shared folder.

Tip: If the drive has been previously mapped on this PC, you can select the required UNC path from the drop-down list.

4. Select the Reconnect at logon check box > Finish.


Windows 7

To map a network drive:

1. Start > Computer > press the left Alt key > Tools > Map Network Drive.

2. From the Drive drop-down list, select the required drive letter.

3. In the Folder box, enter the UNC path, for example \\sage002337\accounts or click Browse and browse to the shared folder.

Tip: If the drive has been previously mapped on this PC, you can select the required UNC path from the drop-down list.

4. Select the Reconnect at logon check box > Finish.


Windows Vista

To map a network drive:

1. Start > Computer > press the left Alt key > Tools > Map Network Drive.

2. From the Drive drop-down list, select the required drive letter.

3. In the Folder box, enter the UNC path, for example \\sage002337\accounts or click Browse and browse to the shared folder.

Tip: If the drive has been previously mapped on this PC, you can select the required UNC path from the drop-down list.


4. Select the Reconnect at logon check box > Finish.


Windows XP

To map a network drive:

1. Open My Computer > Tools > Map Network Drive.

2. From the drop-down list, select the required drive letter.

3. In the Folder box, enter the UNC path, for example \\sage002337\accounts or click Browse and browse to the shared folder.

Tip: If the drive has been previously mapped on this PC, you can select the required UNC path from the drop-down list.

4. Select the Reconnect at logon check box > Finish.

Windows 2000

To map a network drive:

1. Open My Computer > Tools > Map Network Drive.

2. From the drop-down list, select the required drive letter.

3. In the Folder box, enter the UNC path, for example \\sage002337\accounts or click Browse and browse to the shared folder.

Tip: If the drive has been previously mapped on this PC, you can select the required UNC path from the drop-down list.


4. Select the Reconnect at logon check box > Finish.


Uploading Data on our website www.pimbrook.ie

Uploading Data to our website www.pimbrook.ie


All documents, backups or files can now be uploaded through our website if you need to send in your data for investigation or a corruption fix.  Due to GDPR backups and documents with a valid support contract will be investigated or fixed and removed when the work is completed.  If you do not have a valid support contract your data will be removed until a support contact is in place.

You can upload data to our website as follows:

1. log into our website www.pimbrook.ie and Click on support


2. Click on Downloads and Updates

.


3. Log in with the users details


4. You are now logged onto your Pimbrook Portal. Click on Upload to upload files/data/backup to this area.


5. Click Add Files

.


6. Browse for the files you wish to upload


7. If you have added a file incorrectly you can click on to remove any file.


8. Once you are happy with the files you have selected you can click Upload files.


9. You have the option to enter in a description for the file and then click Continue


10. Your files have successfully uploaded and are available to for a support agent to download.


An email notification will be sent if you have ticked the box Notify new uploads by e-mail on setup.