Legislation introduced in 2018
Legislation introduced for 2019
This article highlights the legislation changes that were introduced in 2018 for January 2019.
Emergency tax
From 1 January 2019, there is an increase of €750.00 in the income tax standard rate band for all earners.
Rules of Emergency tax
Whether an employee has a PPS number or not, and the length of time the employee is on Emergency tax status have a direct impact on how their Emergency tax calculates. The following rules apply in the:
2019 tax year
If the employee has a PPS number
| Length of time on emergency tax status | Tax rate 1 cut-off point | Tax credits |
|---|---|---|
| Month 1, or week 1 to 4 | 2942.00 monthly, or 679.00 weekly |
0.00 |
| Month 2, or week 5 to 8 | 0.00 | 0.00 |
| Month 3, or week 9 onwards | 0.00 | 0.00 |
If an employee doesn’t have a PPS number, they must pay the higher rate of tax (40%) on all of their taxable earnings in a period.
Universal social charge (USC)
The following rates and thresholds apply from 1 January 2018:
| Rates | Yearly earnings |
| 0.5% | 0.01 – 12,012.00 |
| 2% | 12,012.01 – 19,372.00 |
| 4.75% | 19,372.01 – 70,044.00 |
| 8% | 70,044.00 and above |
Employees aged 70 or older, and medical card holders are exempt from paying USC at rates 4.75% and 8%. If your employees earn less than €13,000 in the year, they’re exempt from USC.
Pay related social insurance (PRSI)
Employee PRSI rates remain unchanged, but the employer PSRI rates have increased by 0.1% for all subclasses except JO, which remains at 0.5%. Also, the employer PRSI threshold has increased from €376 per week to €386.
Increase in minimum wage rate
The minimum wage has increased from €9.55 to €9.80.
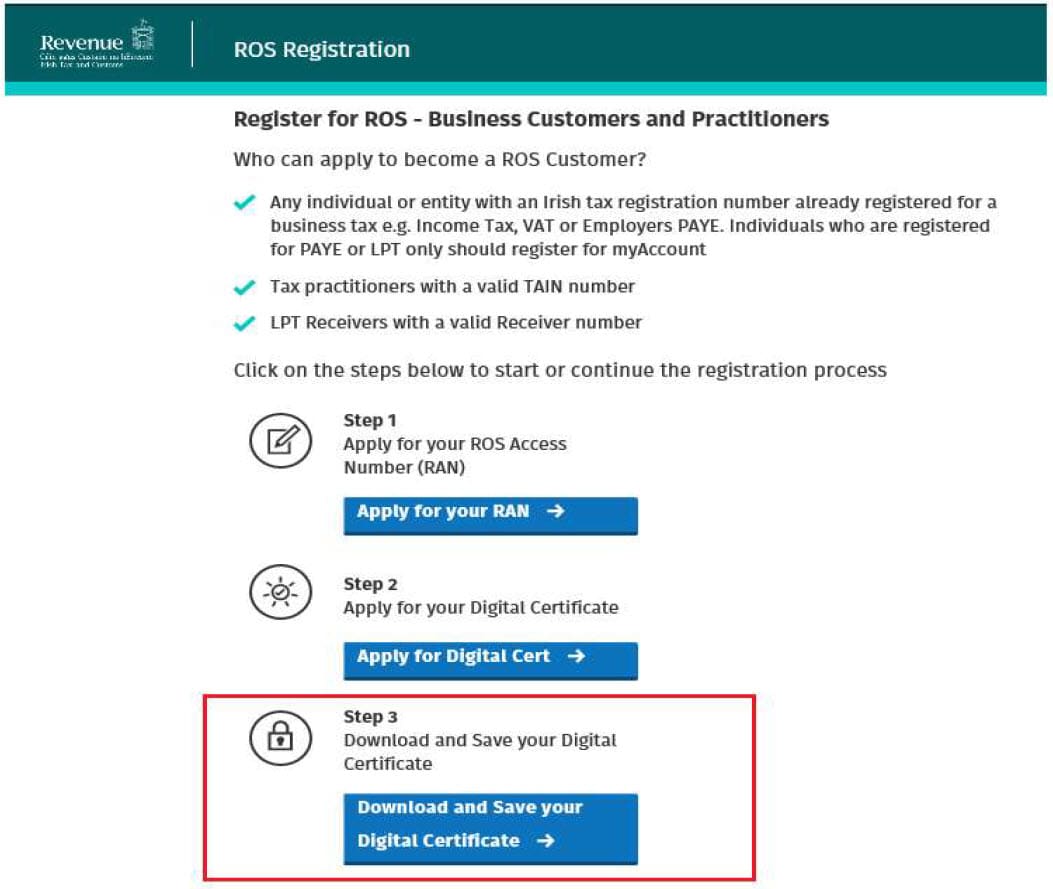
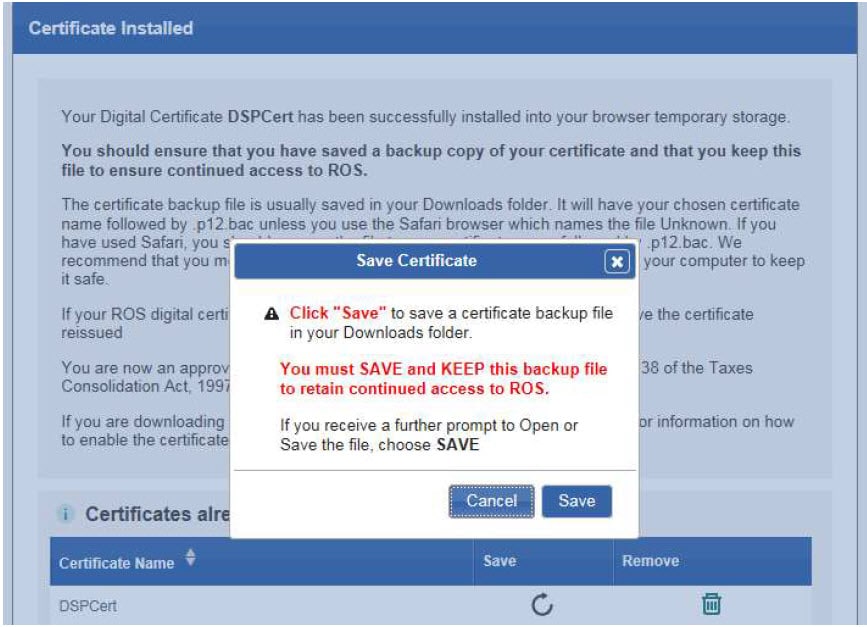
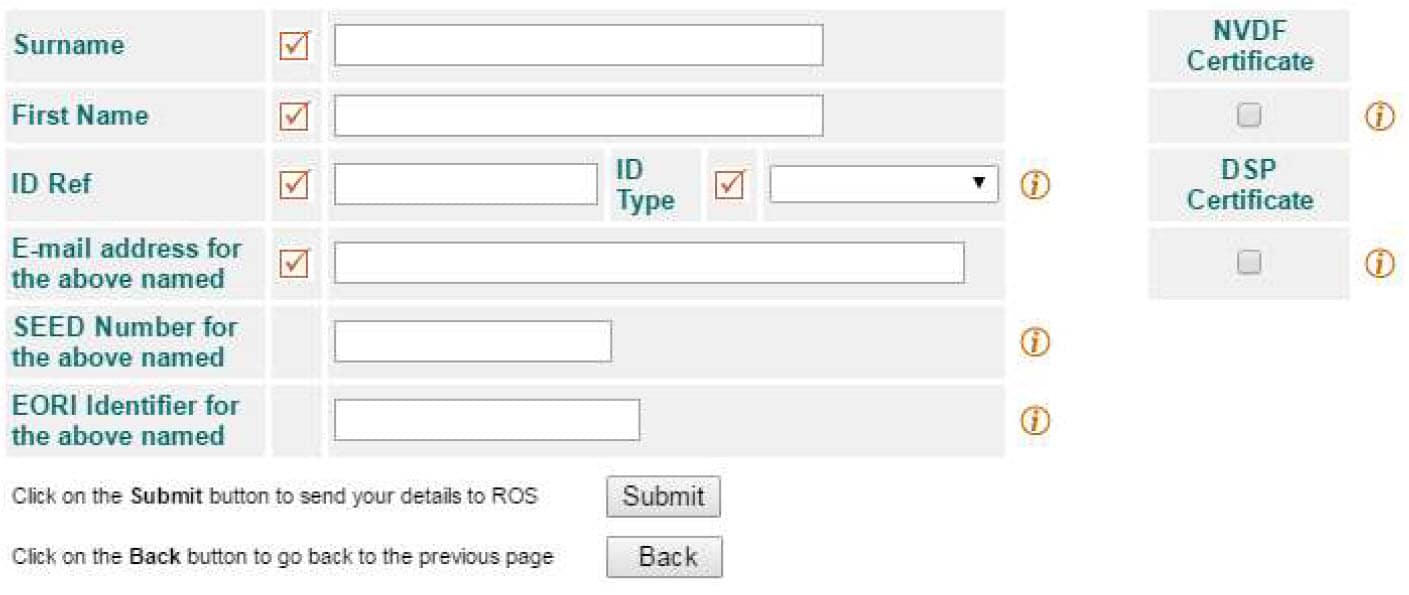
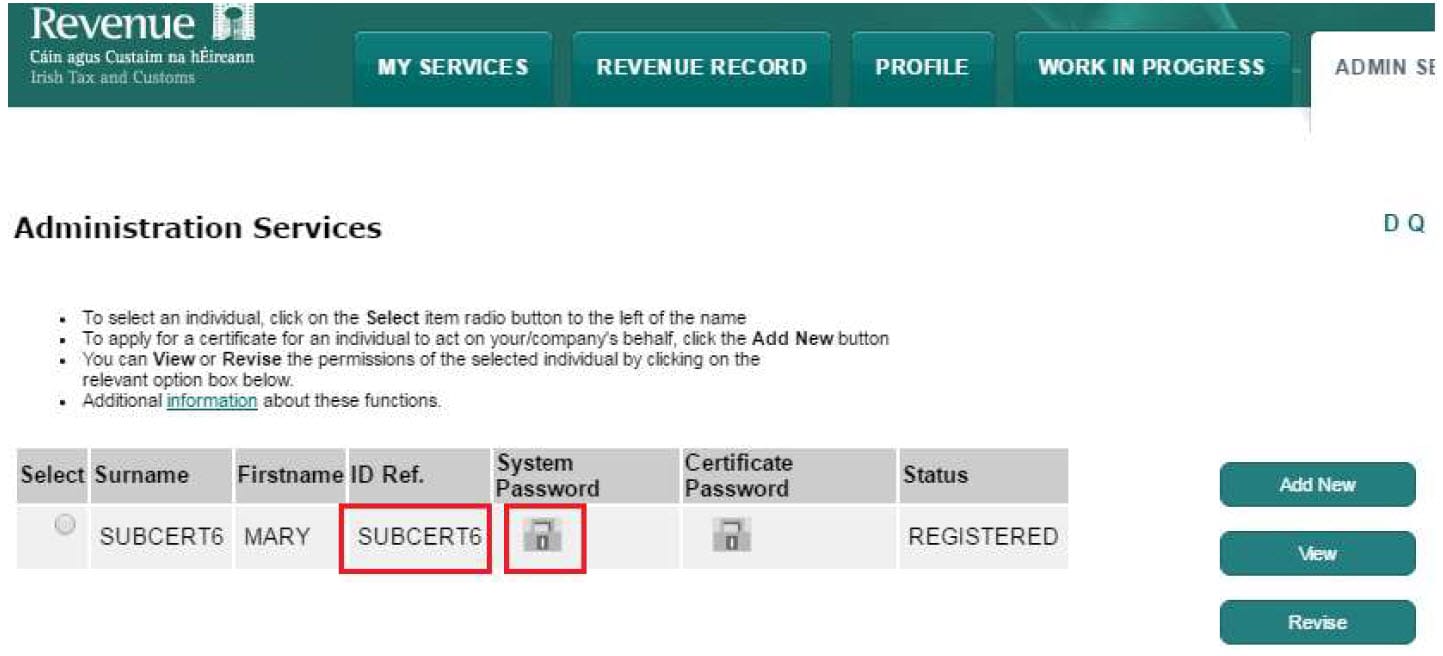
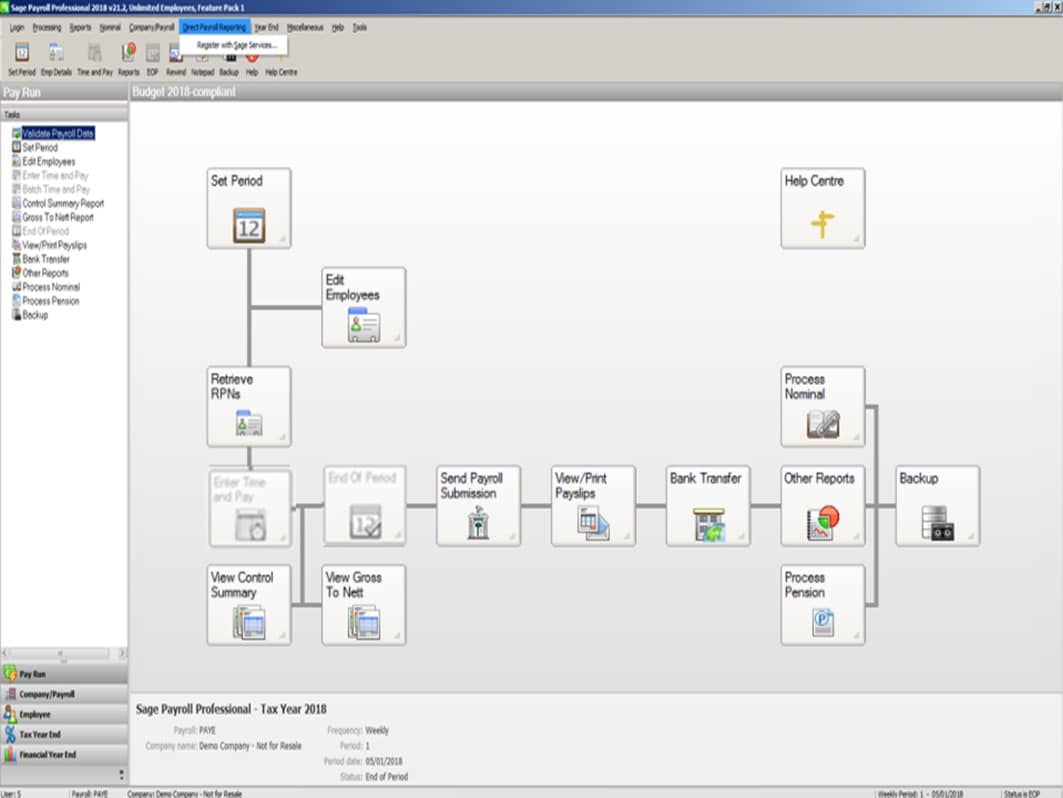
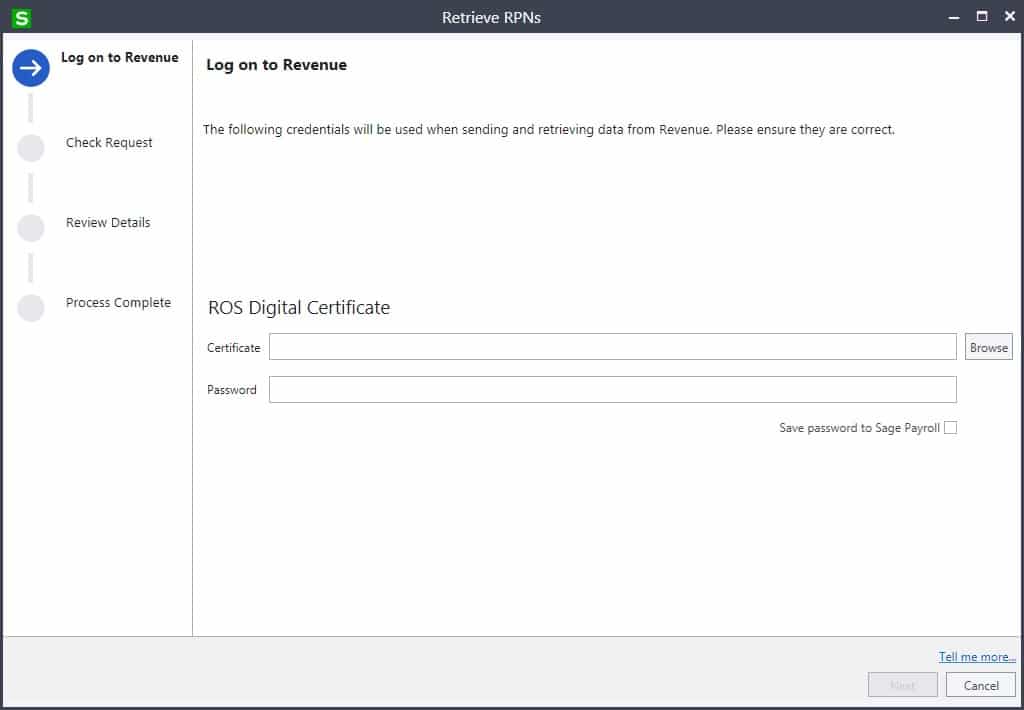
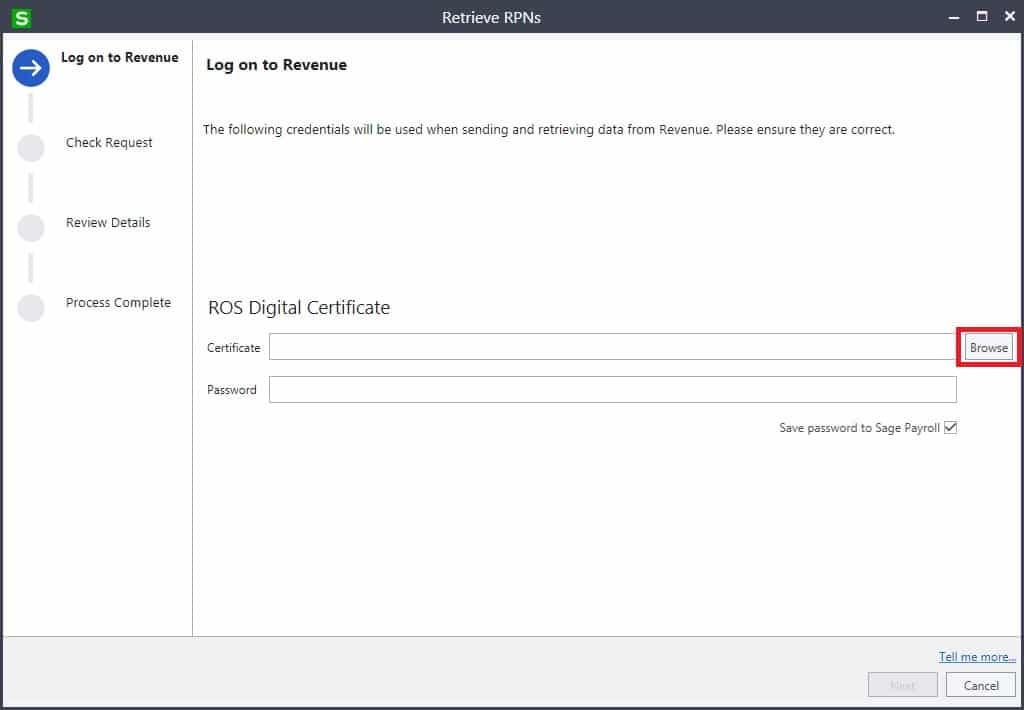
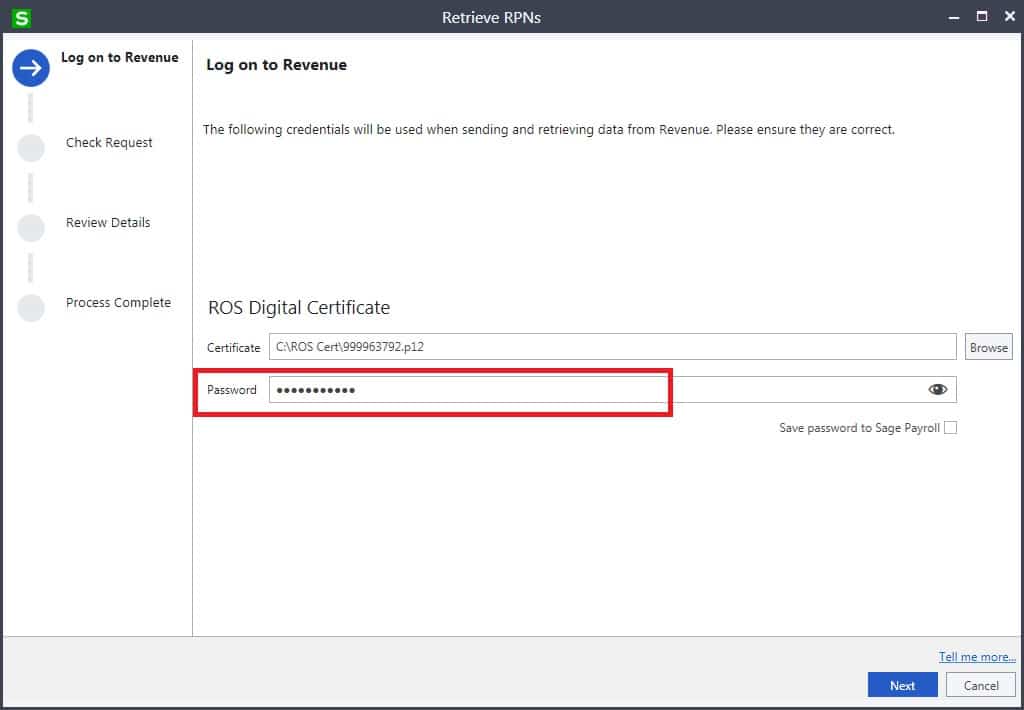
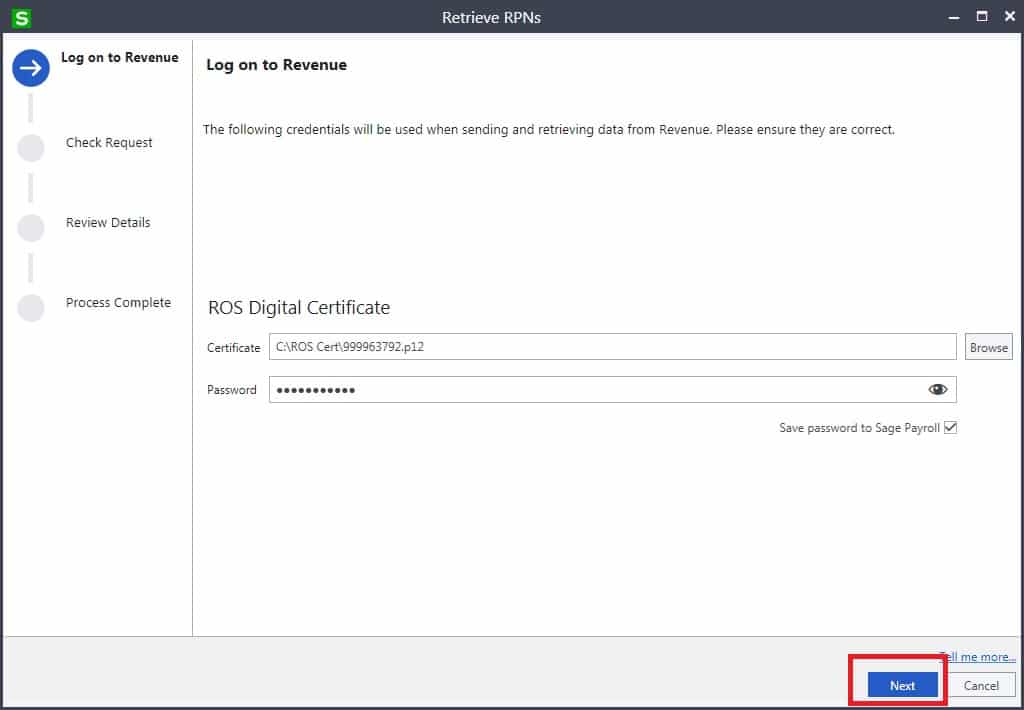
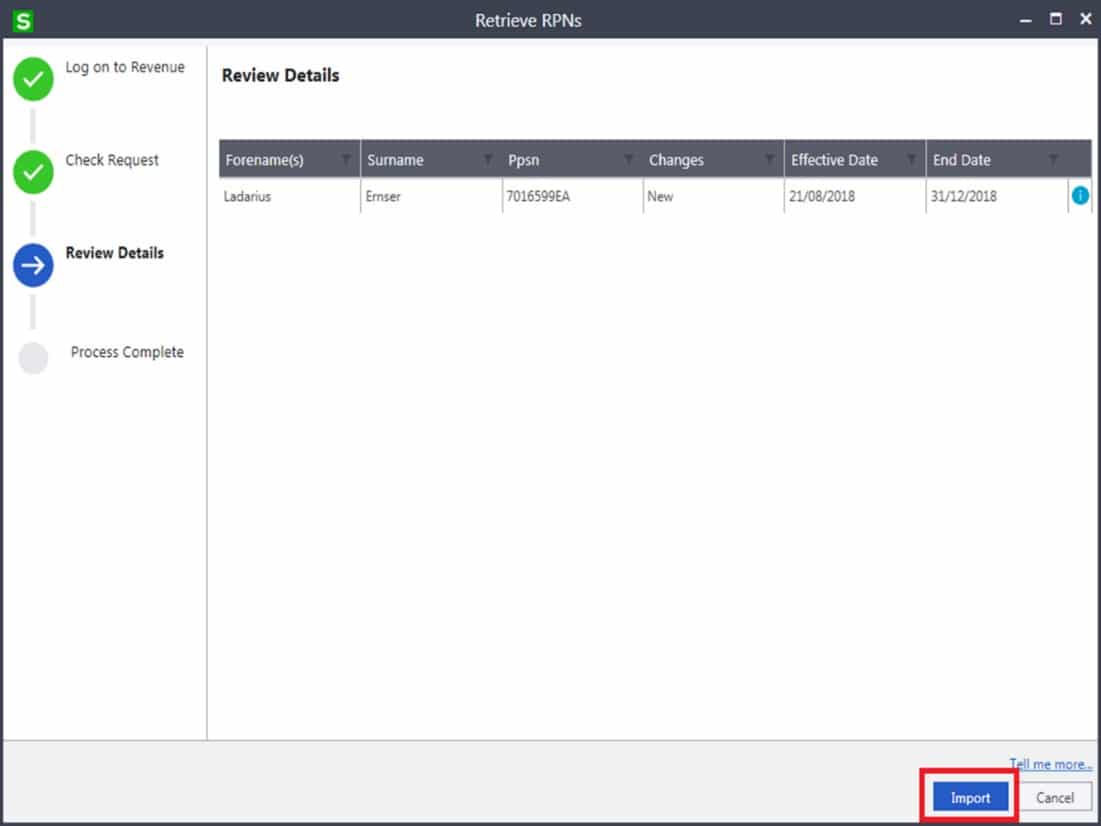
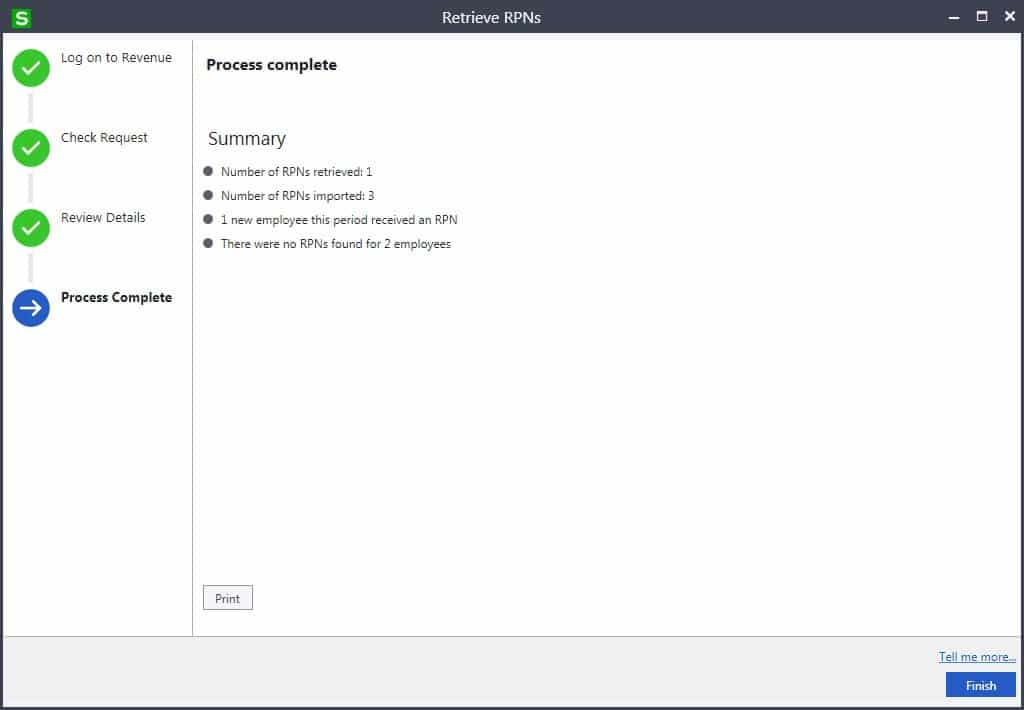
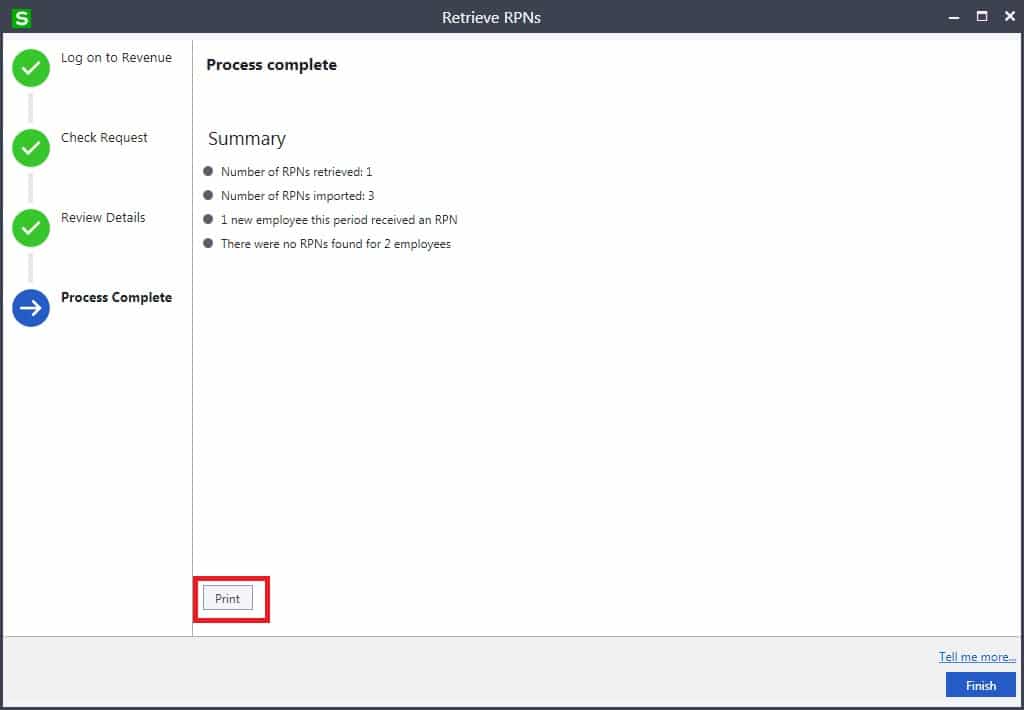
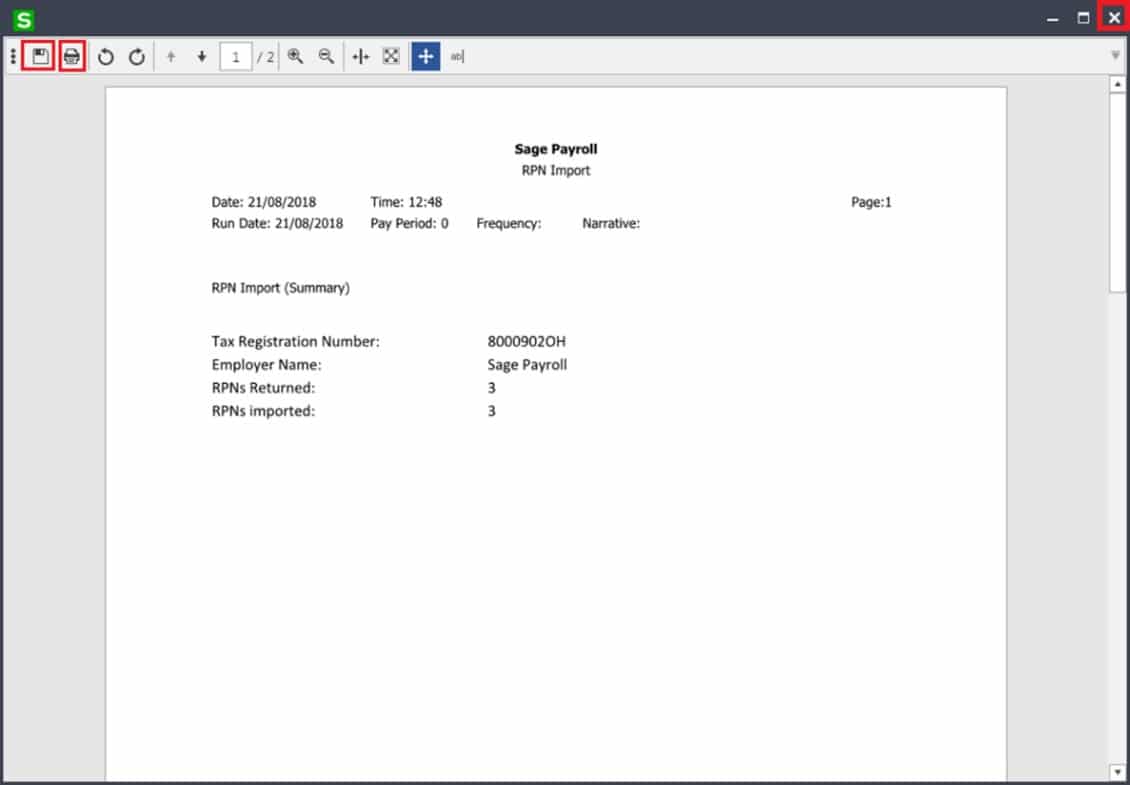
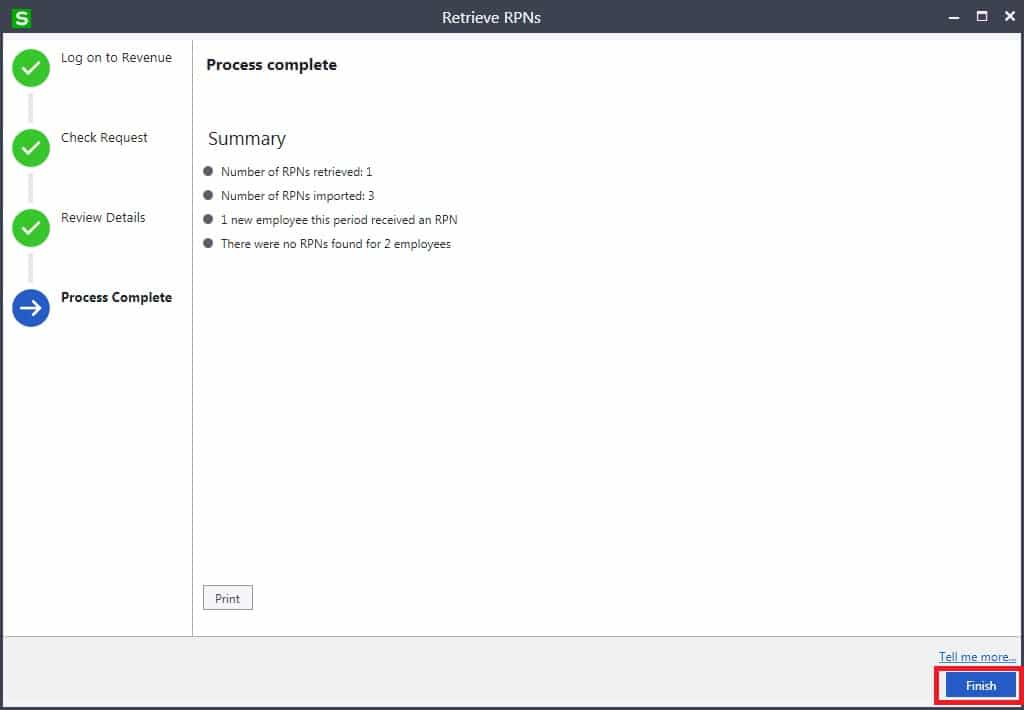
Revenue Payroll Notifications (RPNs) replacing P2C certificates
From 1 January 2019, you’ll be required to request the most up to date RPNs for your employees before you process their pay details each period. RPNs provide you with the necessary information to deduct from your employees the correct tax, universal social charge (USC) and local property tax (LPT), if applicable.
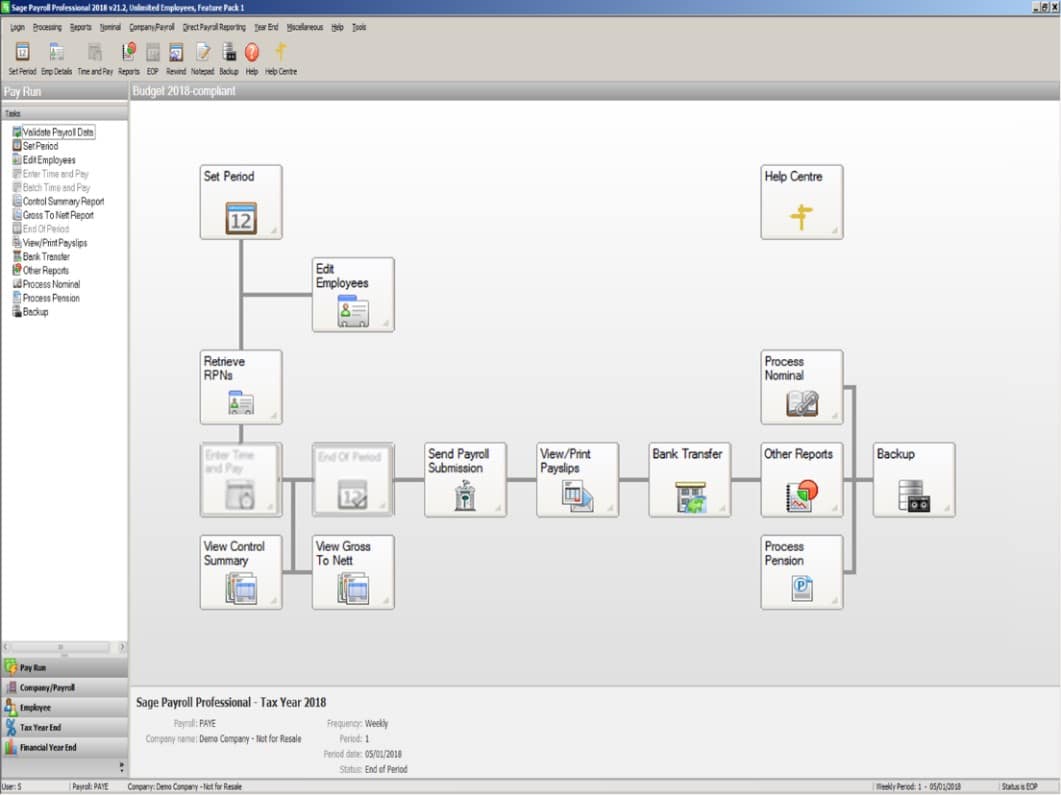
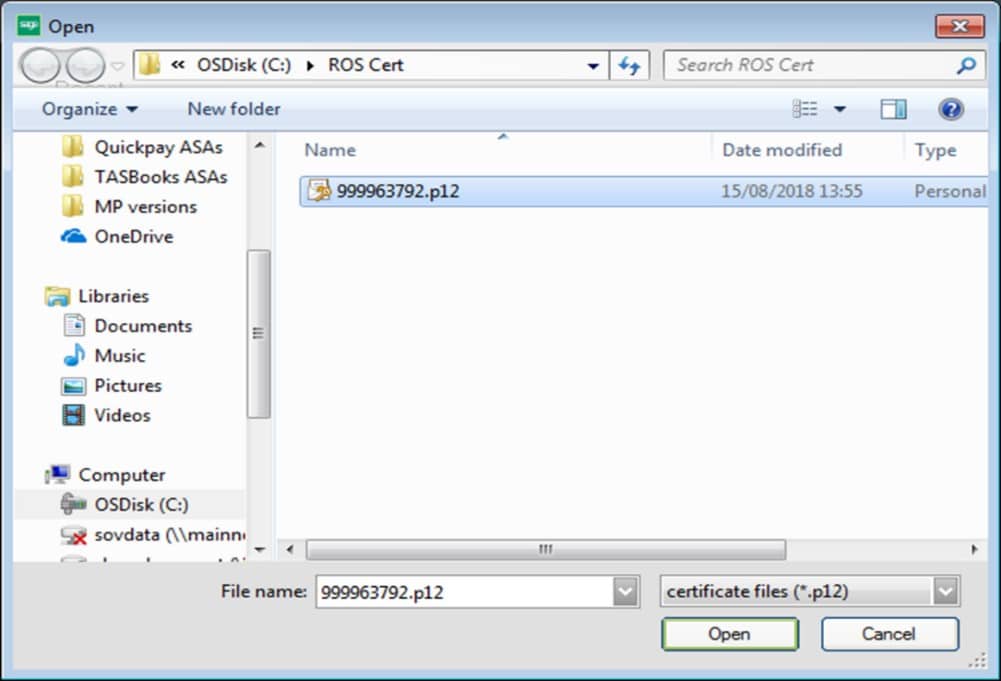
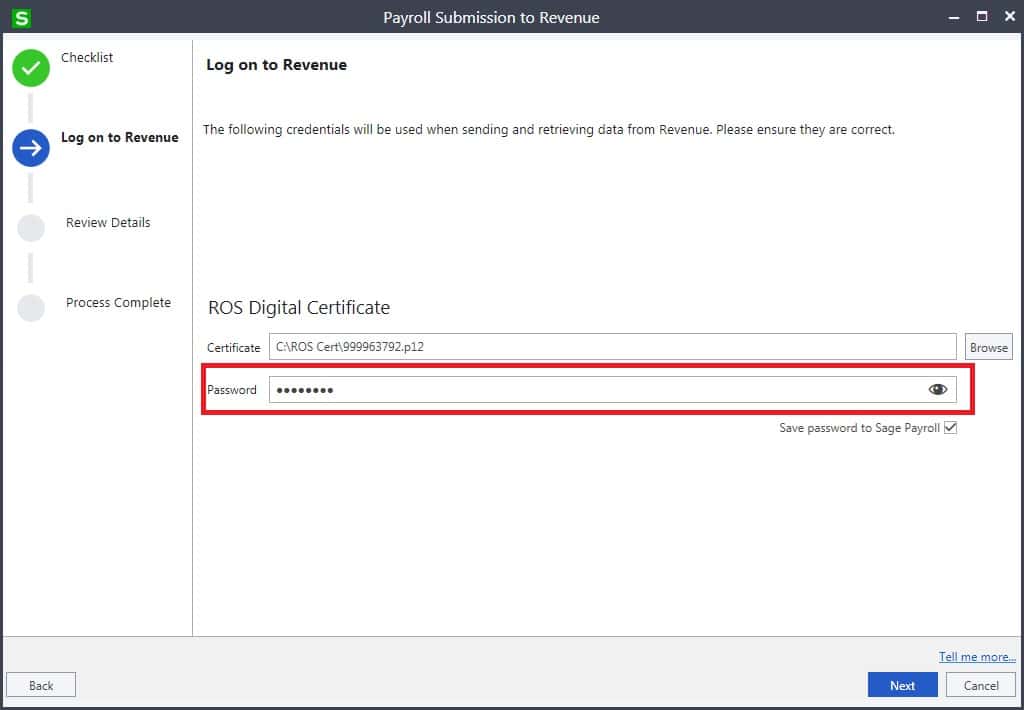
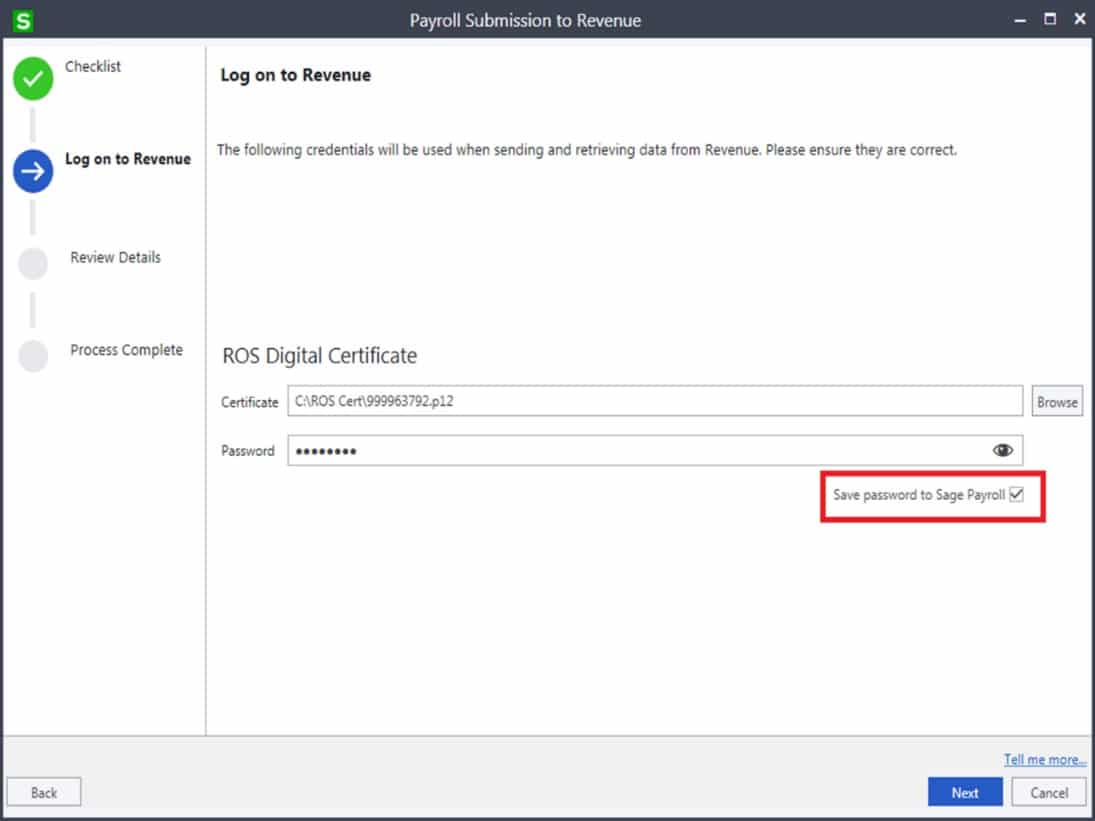
RPNs will be made available to you, for each employee that is currently registered with Revenue as working for your company, before 1 January 2019. Please ensure that you’ve registered your payrolls to use the Sage Services to ROS so you can automatically retrieve RPNs from within your Sage Payroll 2019 software.
Introduction of Additional Superannuation Contribution (ASC)
ASC calculations come into effect from 1 January 2019 and replace the Pension Related Deduction (PRD). ASC is provided for under Part 4 of the Public Service Pay and Pensions Act 2017. Read more about ASC >
P45, P46, P45 (Part 3), P30 and P35 returns no longer valid from 2019
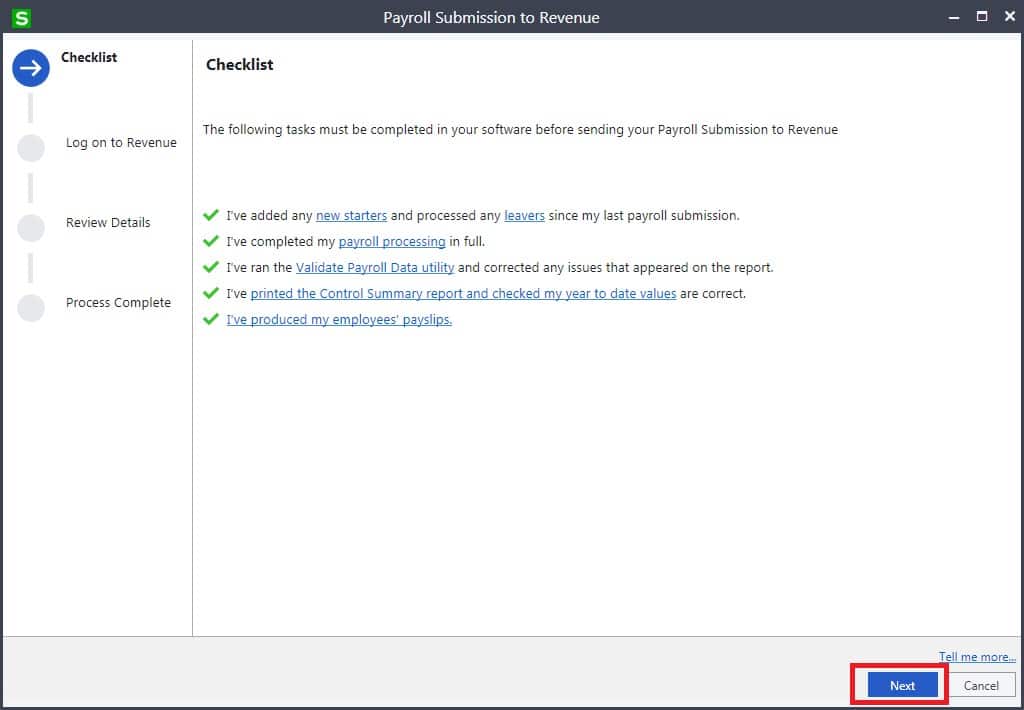
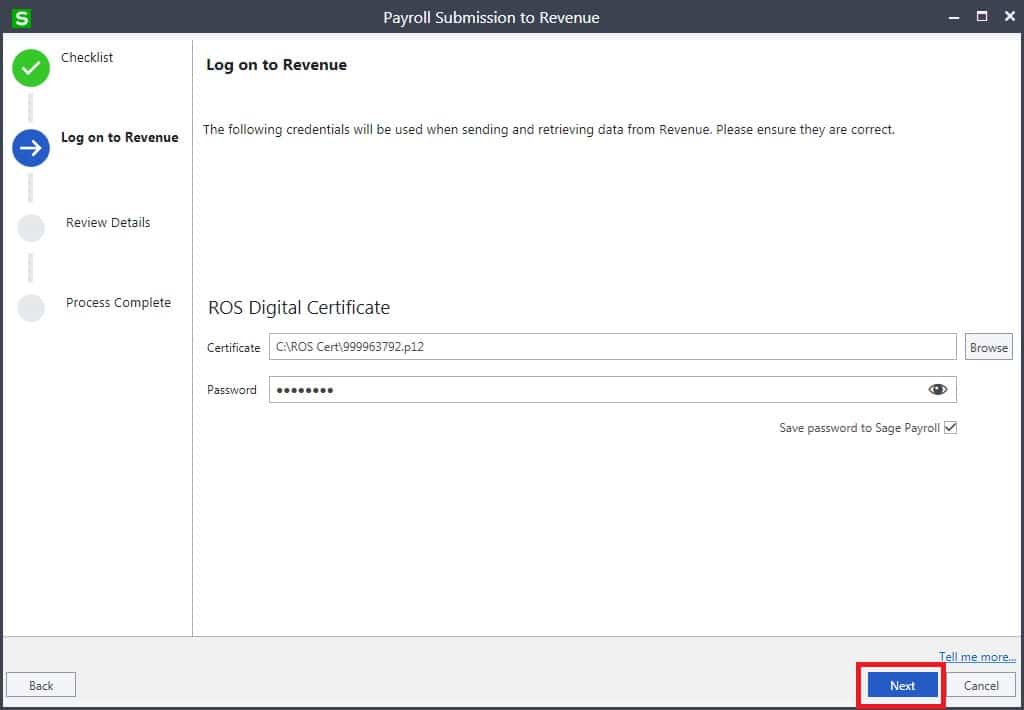
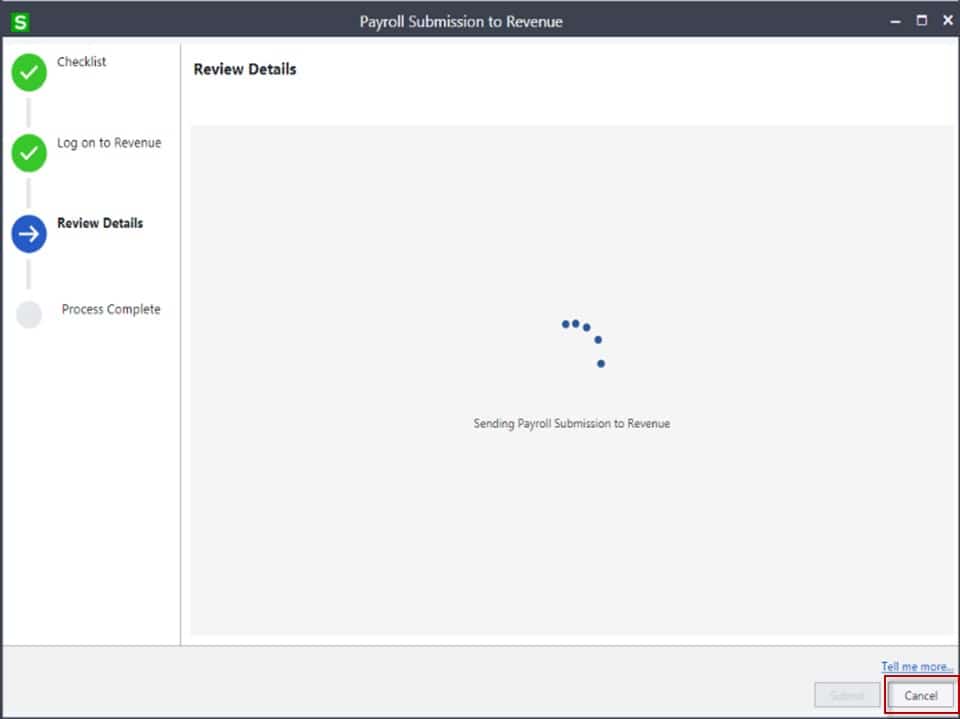
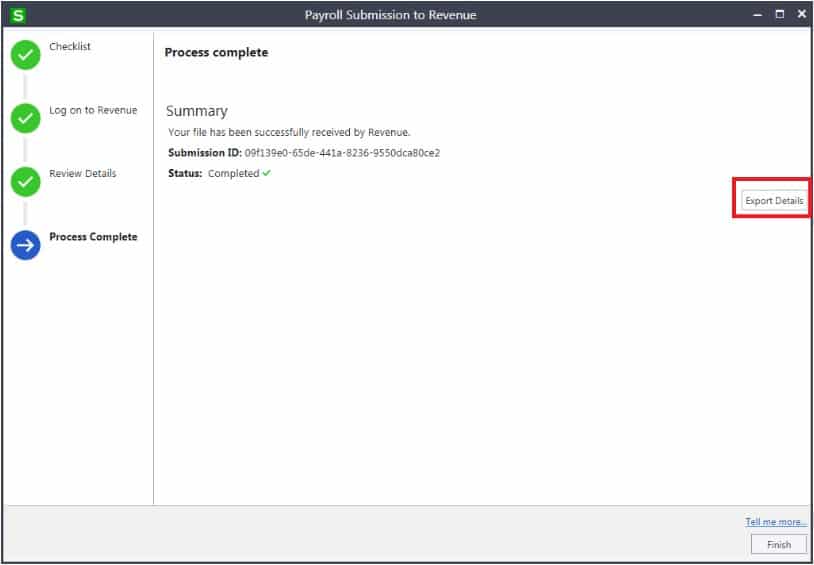
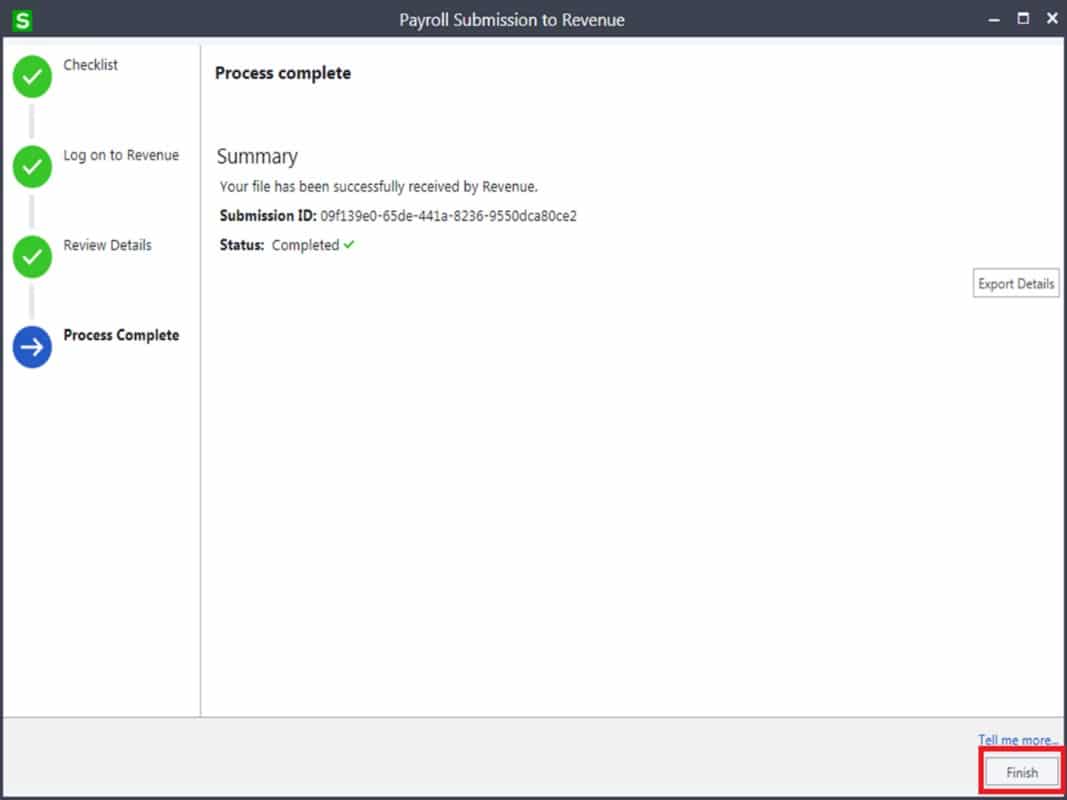
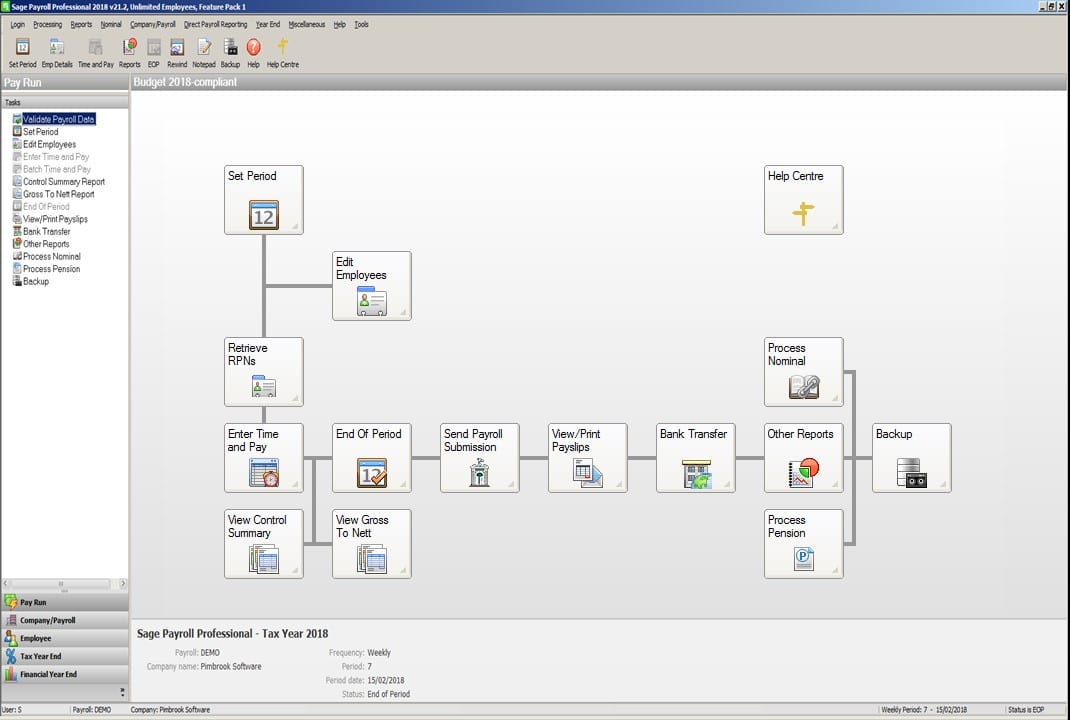
From 1 January 2019, the traditional reporting structure that businesses used in 2018 and previous years (such as P30, P35 and P45) ceases to exist. Instead under the new Real Time Reporting (RTR) legislation, you must send a payroll submission electronically to Revenue each time you pay your employees. You can quickly and easily do this in Sage Payroll 2019 by using the Send Payroll Submission option.
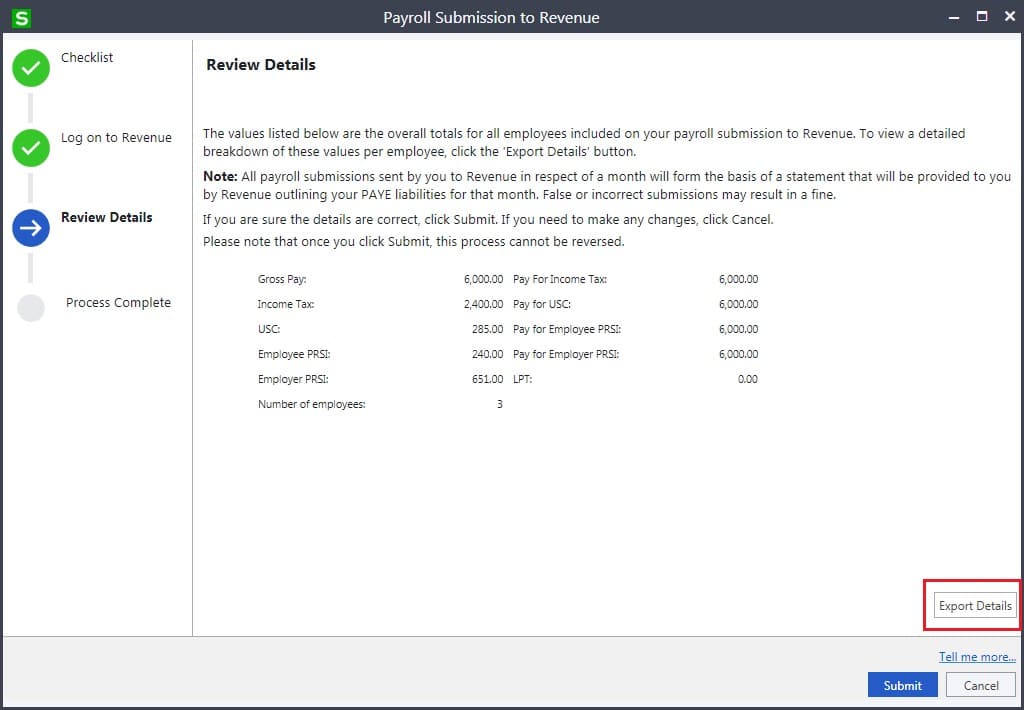
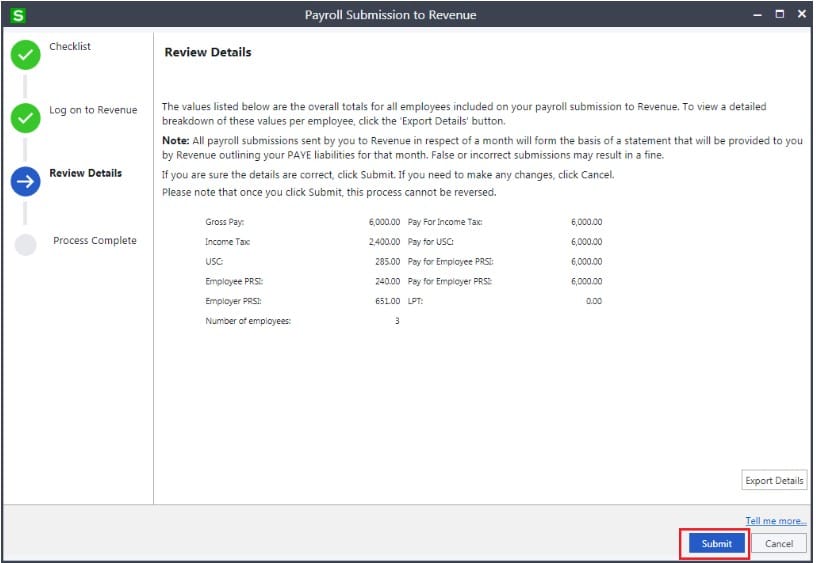
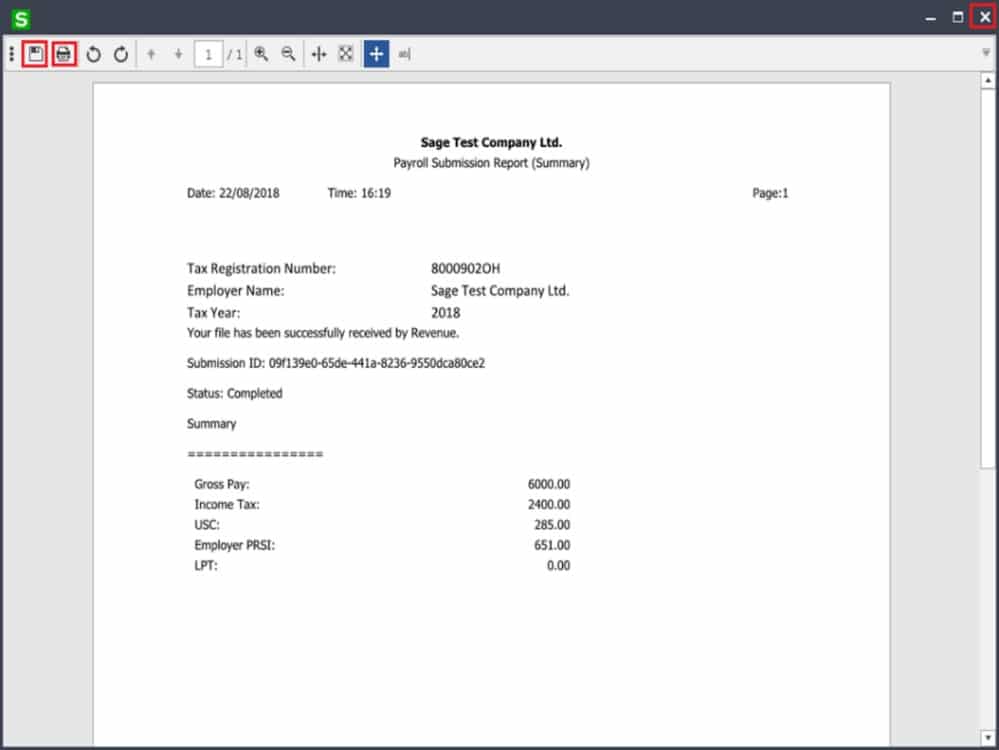
The payroll submission you make each pay period to Revenue contains:
- Details of all payments made to your employees in the pay run.
- The total tax, universal social charge (USC), pay related social insurance (PRSI), and if applicable local property tax (LPT) paid by your employees in the pay run.
- Employee details, such as name, PPS number, Employment ID and tax/USC status.
- Details of any starters or leavers from the pay run, and more information.
All payroll submissions sent by you to Revenue in respect of a month will form the basis of a statement that will be provided to you by Revenue outlining your PAYE liabilities for that month.